Change work card appearance
Overview
The Work card styling admin setting allows administrators to change the work information displayed on cards in the Skedulo web app, as well as adjust the job card colors.
This setting allows you to change the information that you want to see on job cards on the following screens:
- Swimlane
- Vertical swimlane
- Resource schedule
Change the job card information
Only administrators can change the appearance of job cards.
- In the Skedulo web app, click Settings > Work card styling.
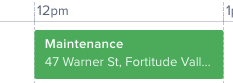
- Use the Primary content displayed and Secondary content displayed drop-down menus to select the information you want to display on the job card. The Preview updates automatically with the selected fields.
- Refresh the web app to view the changes on the swimlanes and resource schedule.
Configure job card colors
Job card colors can be customized in the Skedulo web app Work card styling admin setting under Customize colors.
The color selector includes 56 color options to customize the look of work displayed in your org based on its status, or to improve accessibility for users.
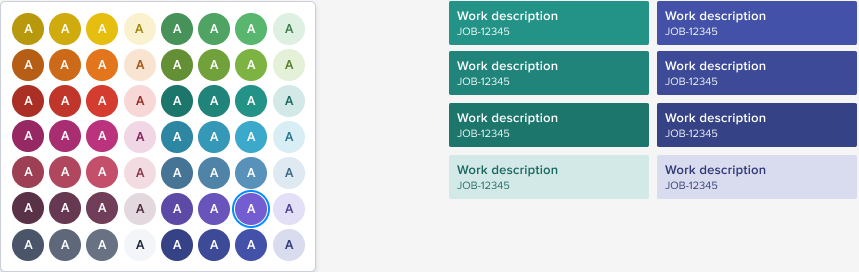
This allows you to change the way job cards are highlighted to help schedulers and administrators visually identify important work at a glance.
- Navigate to Settings > Work card styling and scroll down to Customize colors.
- Click the circle next to the card status color you would like to change, then select your preferred color from the chart. The preview card on the right will update automatically with the selected color.
- Click Save when you are happy with your new card color selections. A confirmation modal appears in the upper-right corner when the new colors have been applied to your org and swimlanes will update with your new color selections.
The updated card color is now shown on the web app swimlanes.
To revert the job card colors back to their default, click Reset to default colors at the bottom of the Customize colors section, then click Save.
Feedback
Was this page helpful?