Manage record access policy rules
Overview
This page describes how to create, edit, and delete rules from a record access policy via the web app.
Important
-
Policy rules are extremely flexible, but can also cause the Skedulo web or mobile app to stop functioning properly if configured incorrectly. We recommend that you test new policy rules and rule changes in a separate environment before applying them to your production system.
-
Creating and editing rules requires detailed knowledge of your Skedulo team’s data schema and EQL.
Rules can also be managed via the API. See the Skedulo API Reference Guide and the developer guide for more information.
View a policy’s rules
You can view a policy’s rules by doing the following actions:
- On the Settings > Record access policies page, click the name of the record access policy you want to view. The policy details page displays.
- Click the Rules tab. A list of the policy’s rules displays.
- To see the rules’ filter (the EQL query) in the table, click Columns /> Filter, and then click Confirm.
Create a rule
To create a rule, do the following:
- Navigate to the policy to which you want to add a rule.
- Click the Rules tab.
- Click Create rule.
- Use the table that follows to configure the fields in the Create rule page.
- Click Save.
| Field | Description |
|---|---|
| Rule description | A text description that makes it easy to identify the rule’s purpose. |
| Object type | The data object that the rule must apply to, for example, if the rule pertains to accessing job records, then the object type would be Job. This field also supports a hasLookup:<lookup name> value. |
| Filter records | The filter, written in EQL, that must be applied to the object data to limit what is accessible. For example, if the rule limits all job records that are pending dispatch, the filter would specify this. See the EQL documentation for more information on how to write and use these filters for the Skedulo data model. |
| Access type | Controls how the filter applies to the object’s data. If set to deny, then only data that passes the filter expression will be returned. When an object has a rule with access type deny in effect, a rule with access type allow can be added to override it if the allow filter expression passes. |
| Roles excluded | Users with a role listed in this field will be exempt from the rule. Note that users with the administrator role or a role containing the “View all data” permission are exempt from all record access policies. |
| Permissions excluded | Users that have a role with any of the permissions in this field will be excluded from the rule. |
Edit a rule
To edit a record access policy rule, do the following:
- Navigate to the policy for which you want to edit a rule.
- Click the Rules tab.
- Click the name of the rule you want to edit. The Edit rule page displays.
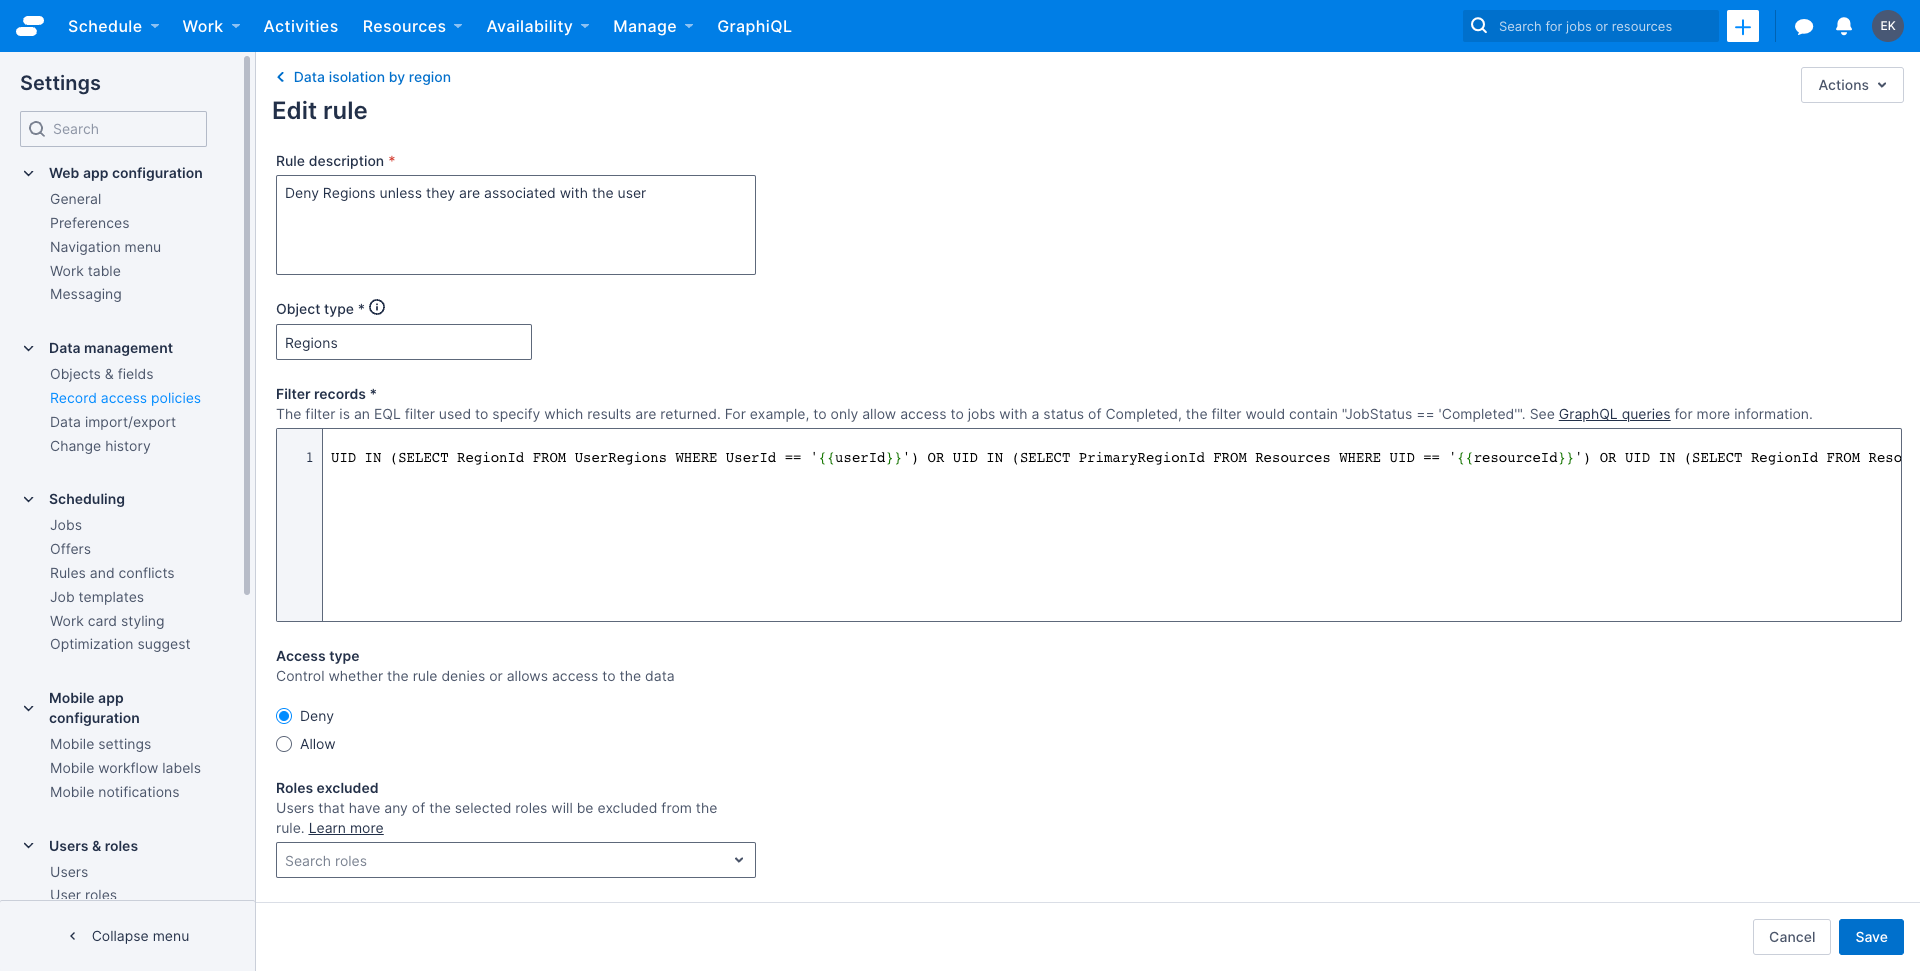
- Make the required changes and then click Save. Success notification displays.
Important
If you navigate away from the Edit rule page without clicking Save, your changes will be lost.Delete a rule
To delete a rule, do the following:
- Navigate to the policy from which you want to delete a rule.
- Click the Rules tab.
- Click the checkbox to select the rule to delete. The Delete and Deselect all options display.
- Click Delete.
- To confirm the deletion, click Yes, or click Cancel to return to the Rules tab without deleting the rule.
Feedback
Was this page helpful?