Manage locations
Overview
The data table contains a list of all the locations that are defined in the CRM. Schedulers can view, edit and create locations (as required by their organization) via the Skedulo web app–rather than having to find and enter them directly in their CRM.
Note
Users must have the required CRM permissions to create, view and edit the data table.Tip
The Glossary provides a definition for Location.View locations
The data table lists can be accessed via the navigation menus (at the top of the console). Click on Manage and select Locations from the menu options.
The table lists all of the locations defined in the CRM. Column titles marked with a small accent can be sorted by clicking on the accent symbol. View and edit options are available by clicking on the location name. A delete button is exposed when the checkbox is checked at the beginning of each table entry.
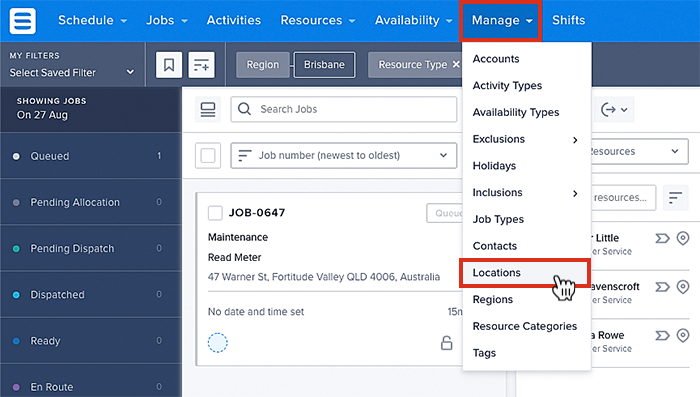
Accessing locations, from the data tables.
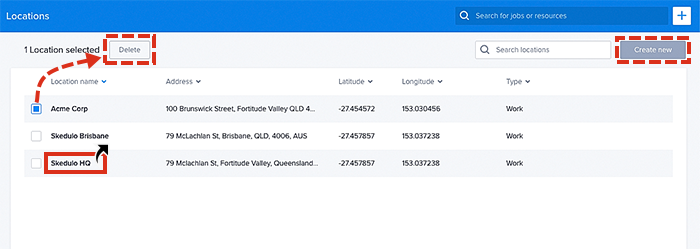
Viewing examples of locations in the data table.
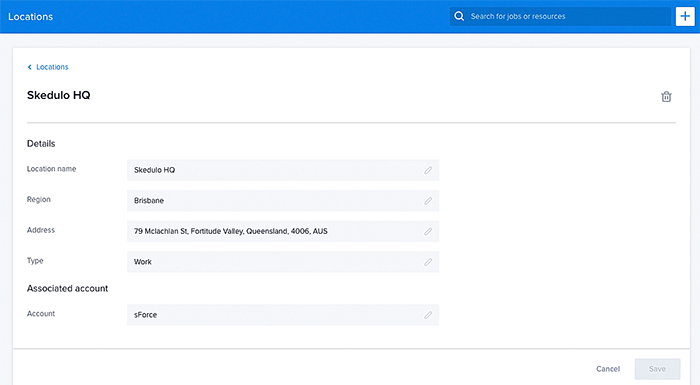
Viewing a location in the data tables.
Also, see Create job.
Create a new location
Create a new location directly from within the data table by clicking on the Create new button at the top-right corner. Complete the required field named Location Name (highlighted red), followed by any other appropriate information.
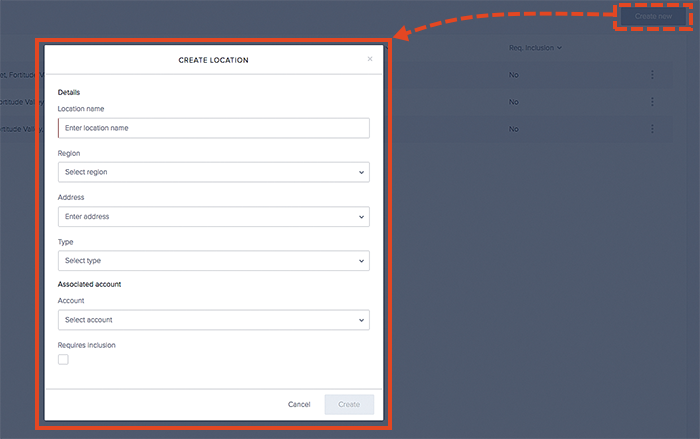
How to create a new location using the data table.
Feedback
Was this page helpful?