Build a Skedulo Plus form with Form Builder components
Overview
After you have created a Skedulo Plus mobile form in the Skedulo web app Form Builder, you can add a maximum of 100 components to the form to capture data from your mobile users.
This document provides instructions for adding components to build these types of mobile forms:
- Basic data collection form
- Advance form with data mapping
Prerequisites
-
You must be an administrator or a user with the following permissions:
- Configuration > View organization settings
- Configuration > Modify organization settings
-
You have created a Skedulo Plus mobile form. To learn how to create a form, refer to Create mobile forms with Form Builder in the Skedulo web app or Create mobile forms with Form Builder in Skedulo for Salesforce.
Add components to basic forms
- Open the form you’ve created or a draft form that you have previously created.
-
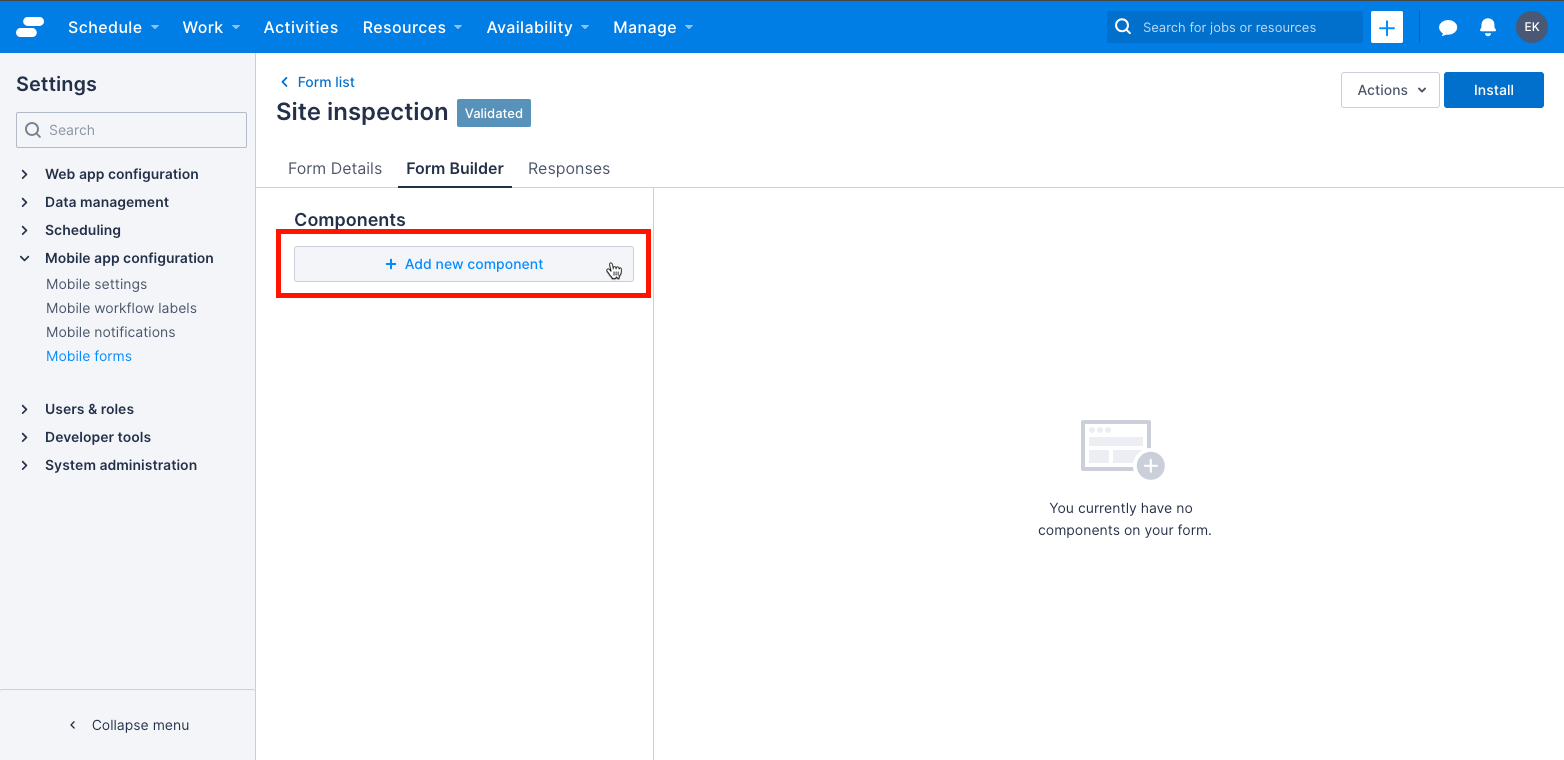
Click the Form builder tab to open the editor.
-
Click Add new component to open the list of available components.
-
Click the plus icon next to the component you want to add to the form.
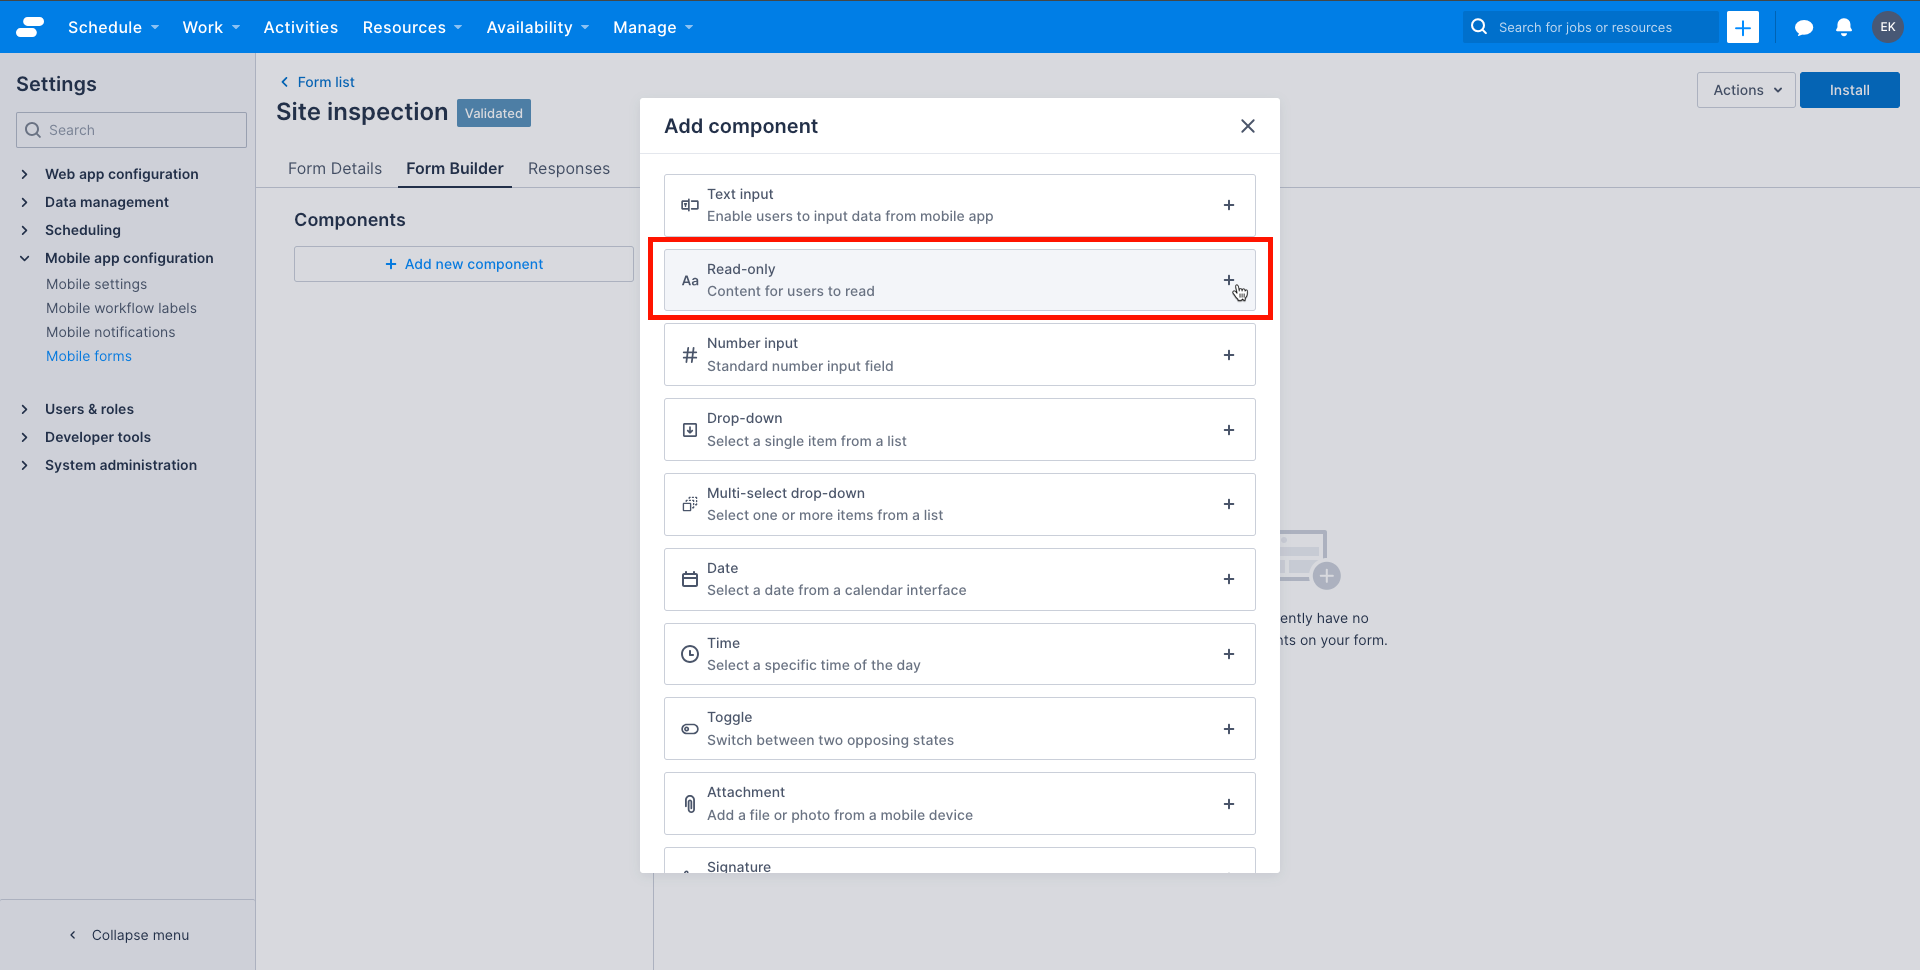
This opens the configuration panel for the component. For a complete list of Form Builder components and their properties, see Form Builder components.
-
Complete the Component details form.
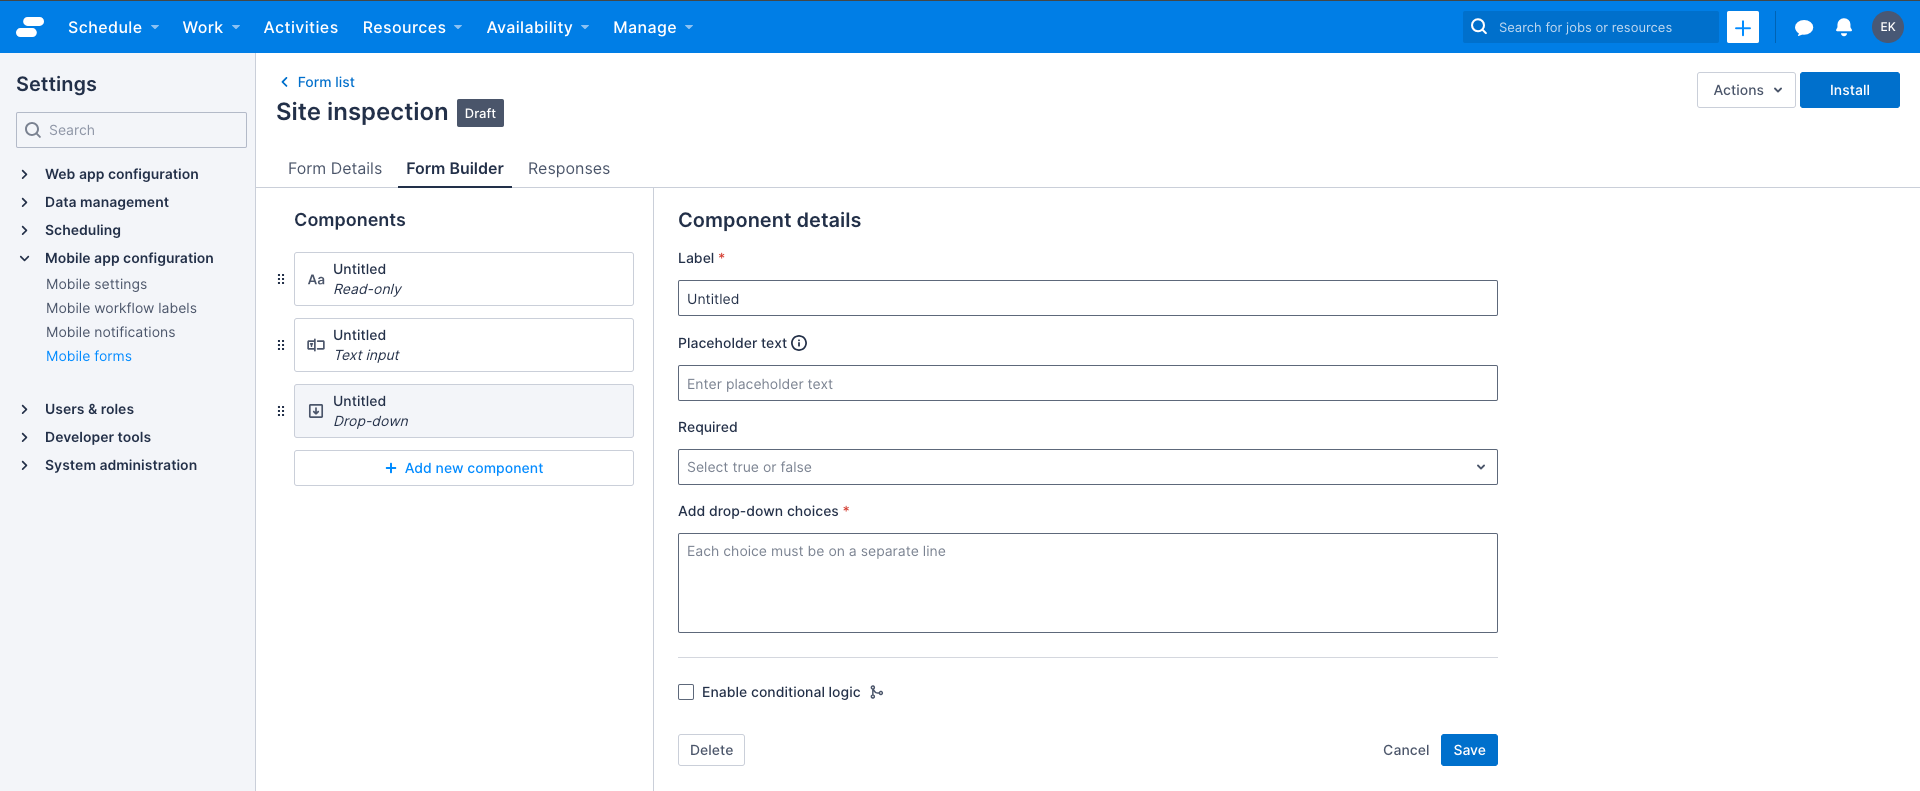
In this example, we will add a read-only field to include some context in the form, a text input field to capture a customer’s name, a picklist to select a product, and a date picker to capture the date of the customer’s order:
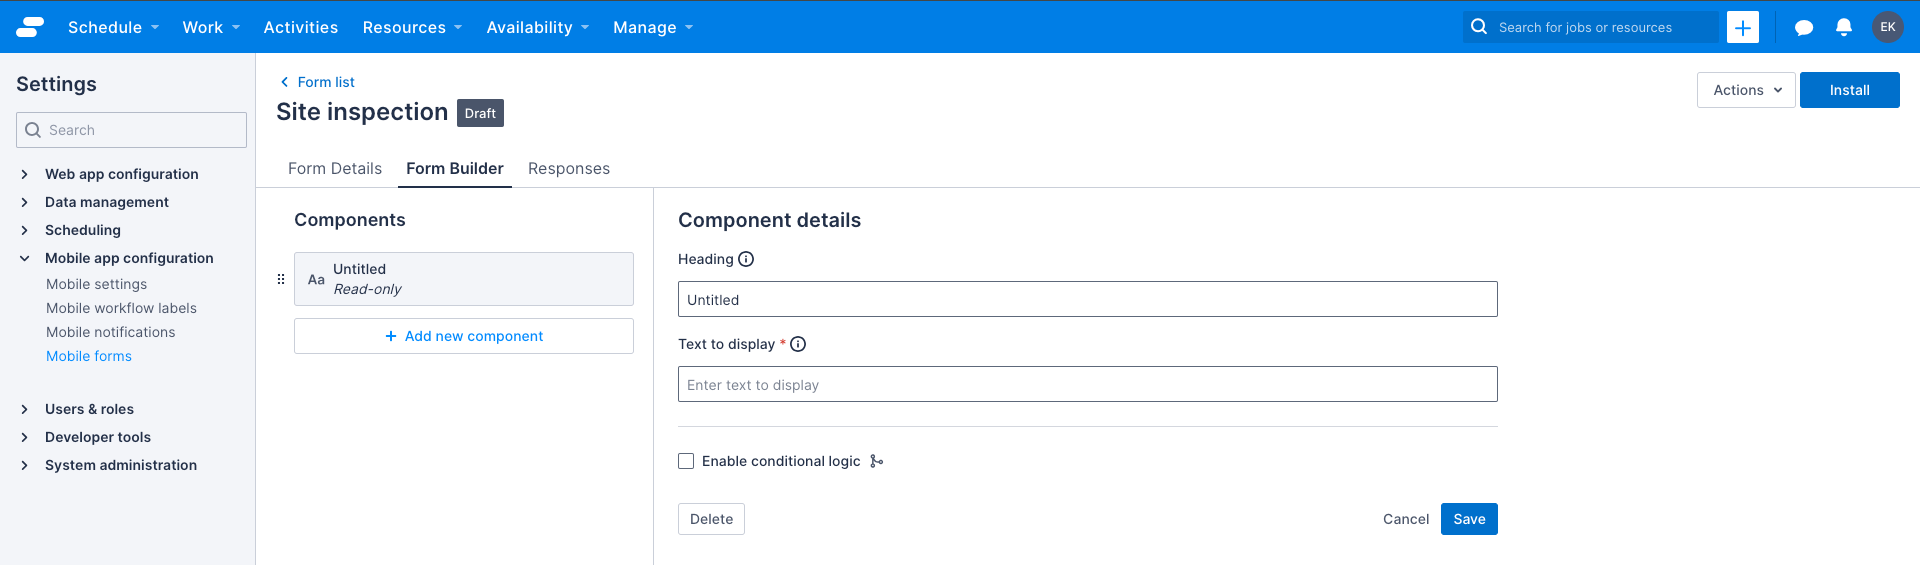
a. Read-only component:
- Heading: Order details
- Text to display: Please complete the form to place an order.
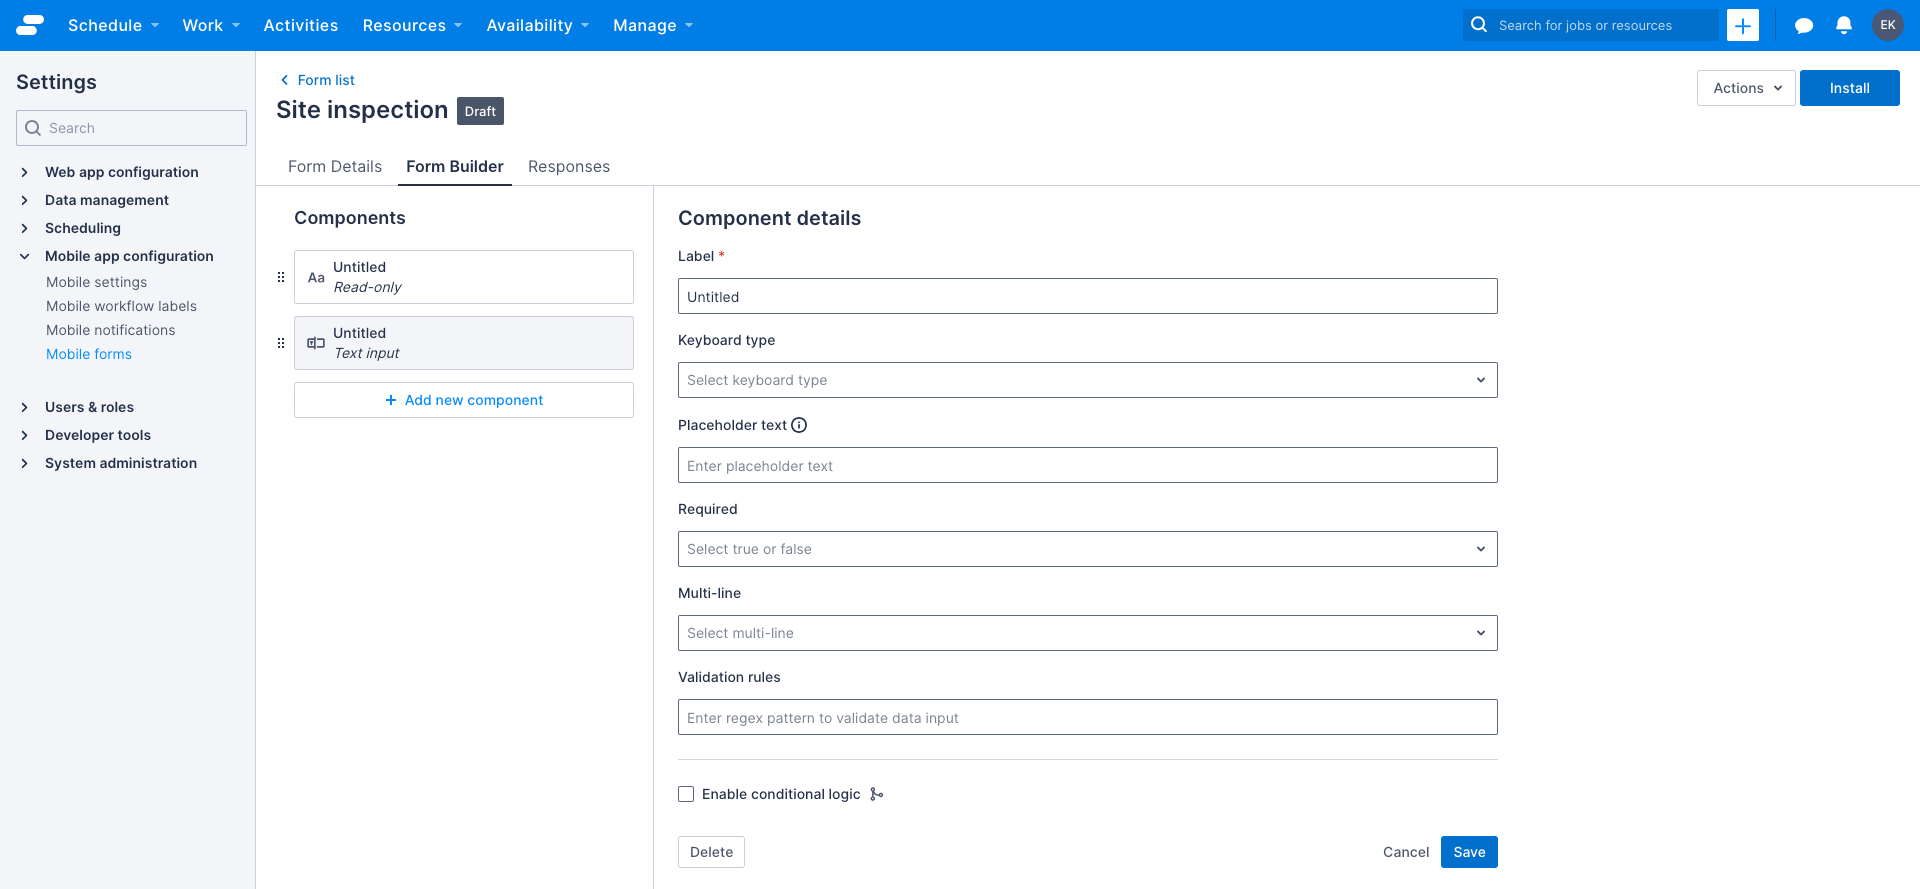
b. Text input component:
- Label: Customer name
- Keyboard type: Default
- Placeholder text: Customer name
- Required: True
- Multi-line: False
- Validation rules: Leave unchanged
c. Drop-down component:
- Label: Product
- Placeholder text: Select a product
- Required: True
- Add drop-down choices: Product A, Product B, Product C
d. Date picker component:
- Label: Order date
- Required: True
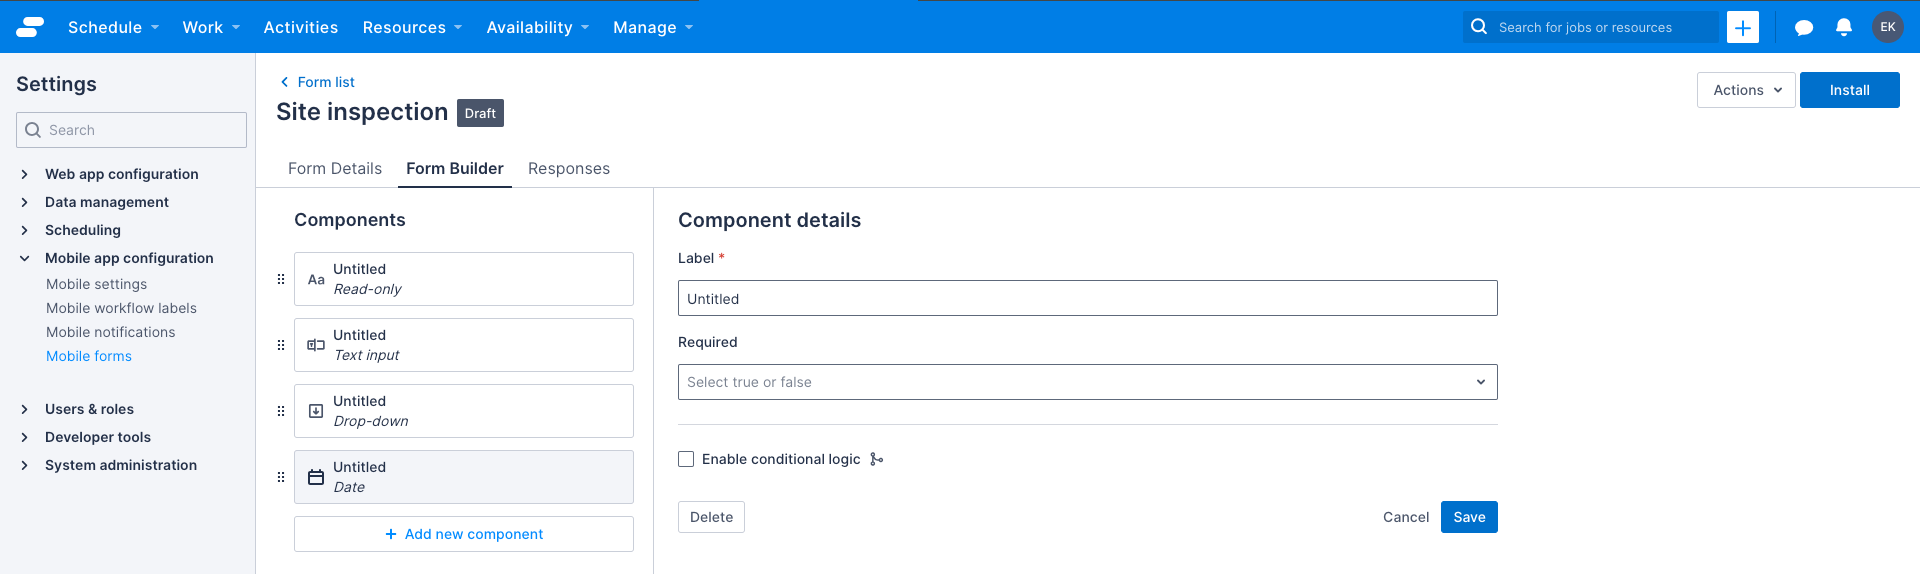
- Click Save.
Add components to advance forms with data mapping
If you are creating an advanced form with data mapping, you need to select a custom field to associate with the component. Therefore, ensure you have a record of the custom object and its fields that you would like the form to map to, including the field names and types.
To add UI components to the form, do the following steps:
-
Open the form you’ve created or a draft form that you have previously created.
-
On the Form Details page, switch to the Form Builder tab.
-
Click Add new component to open the list of available components.
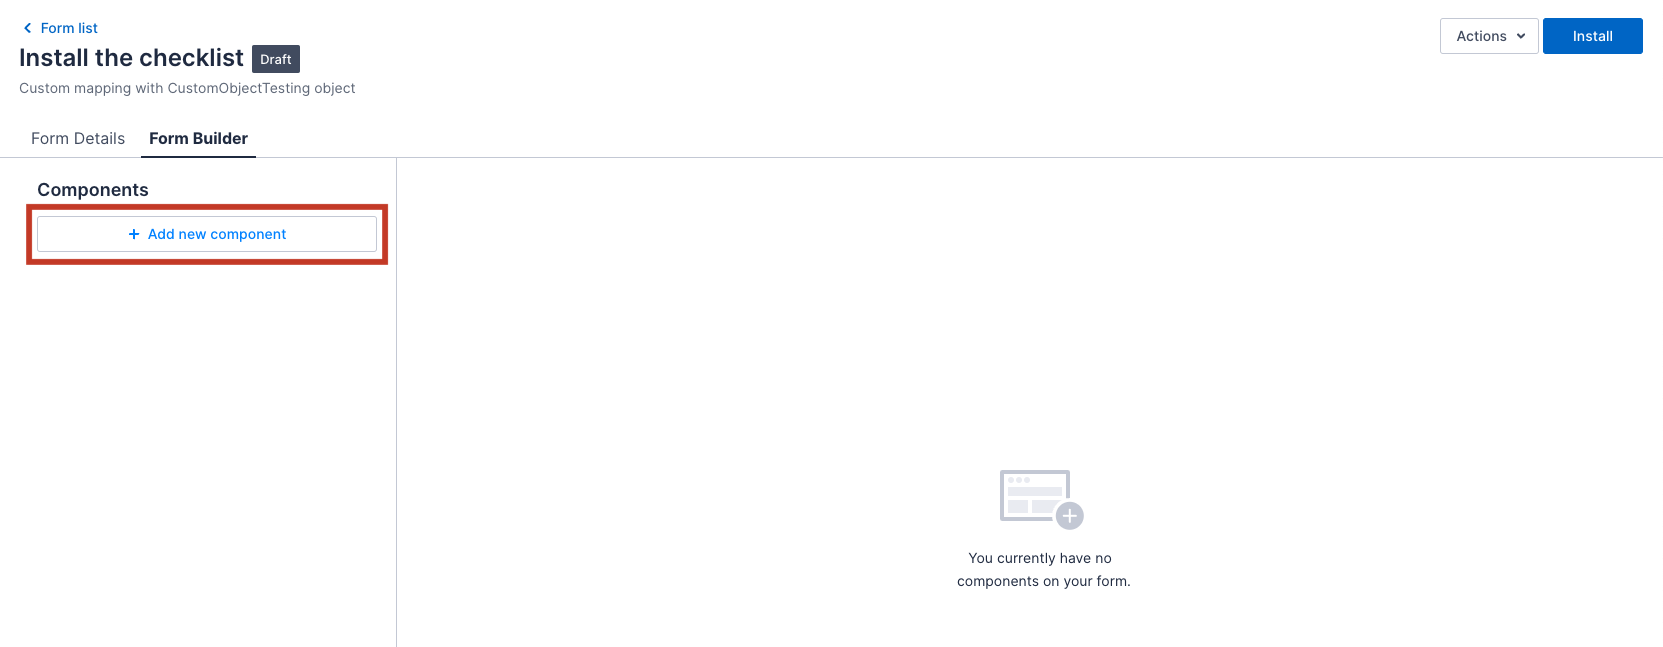
-
Select the component type that you want to add to the form.
This opens the configuration panel for the component. Refer to Form Builder components.
-
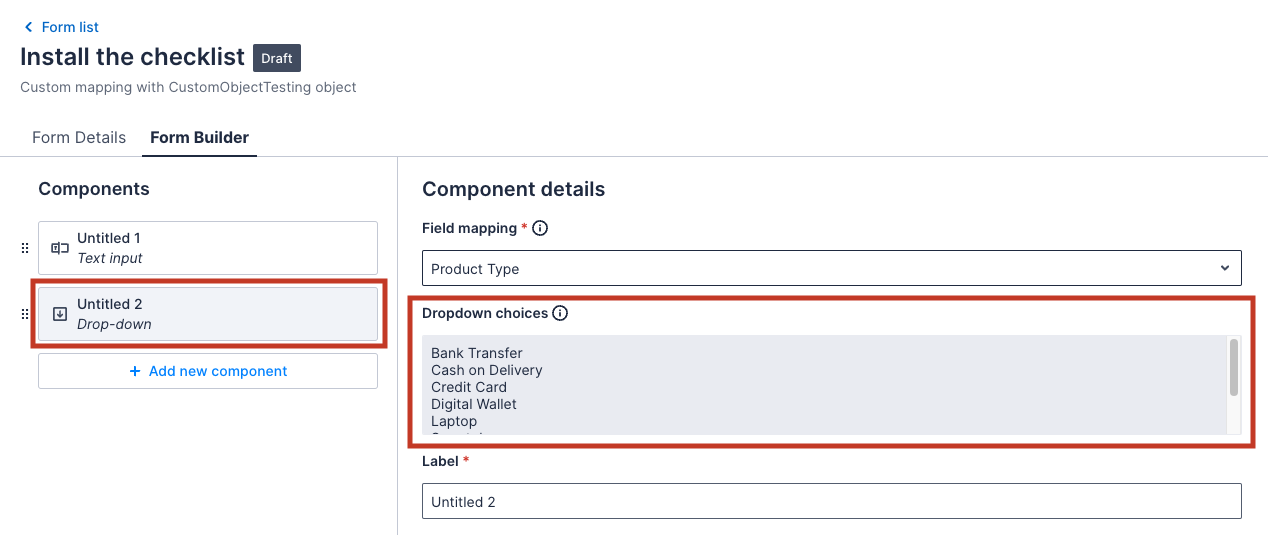
After adding a component, the Component details configuration panel displays.
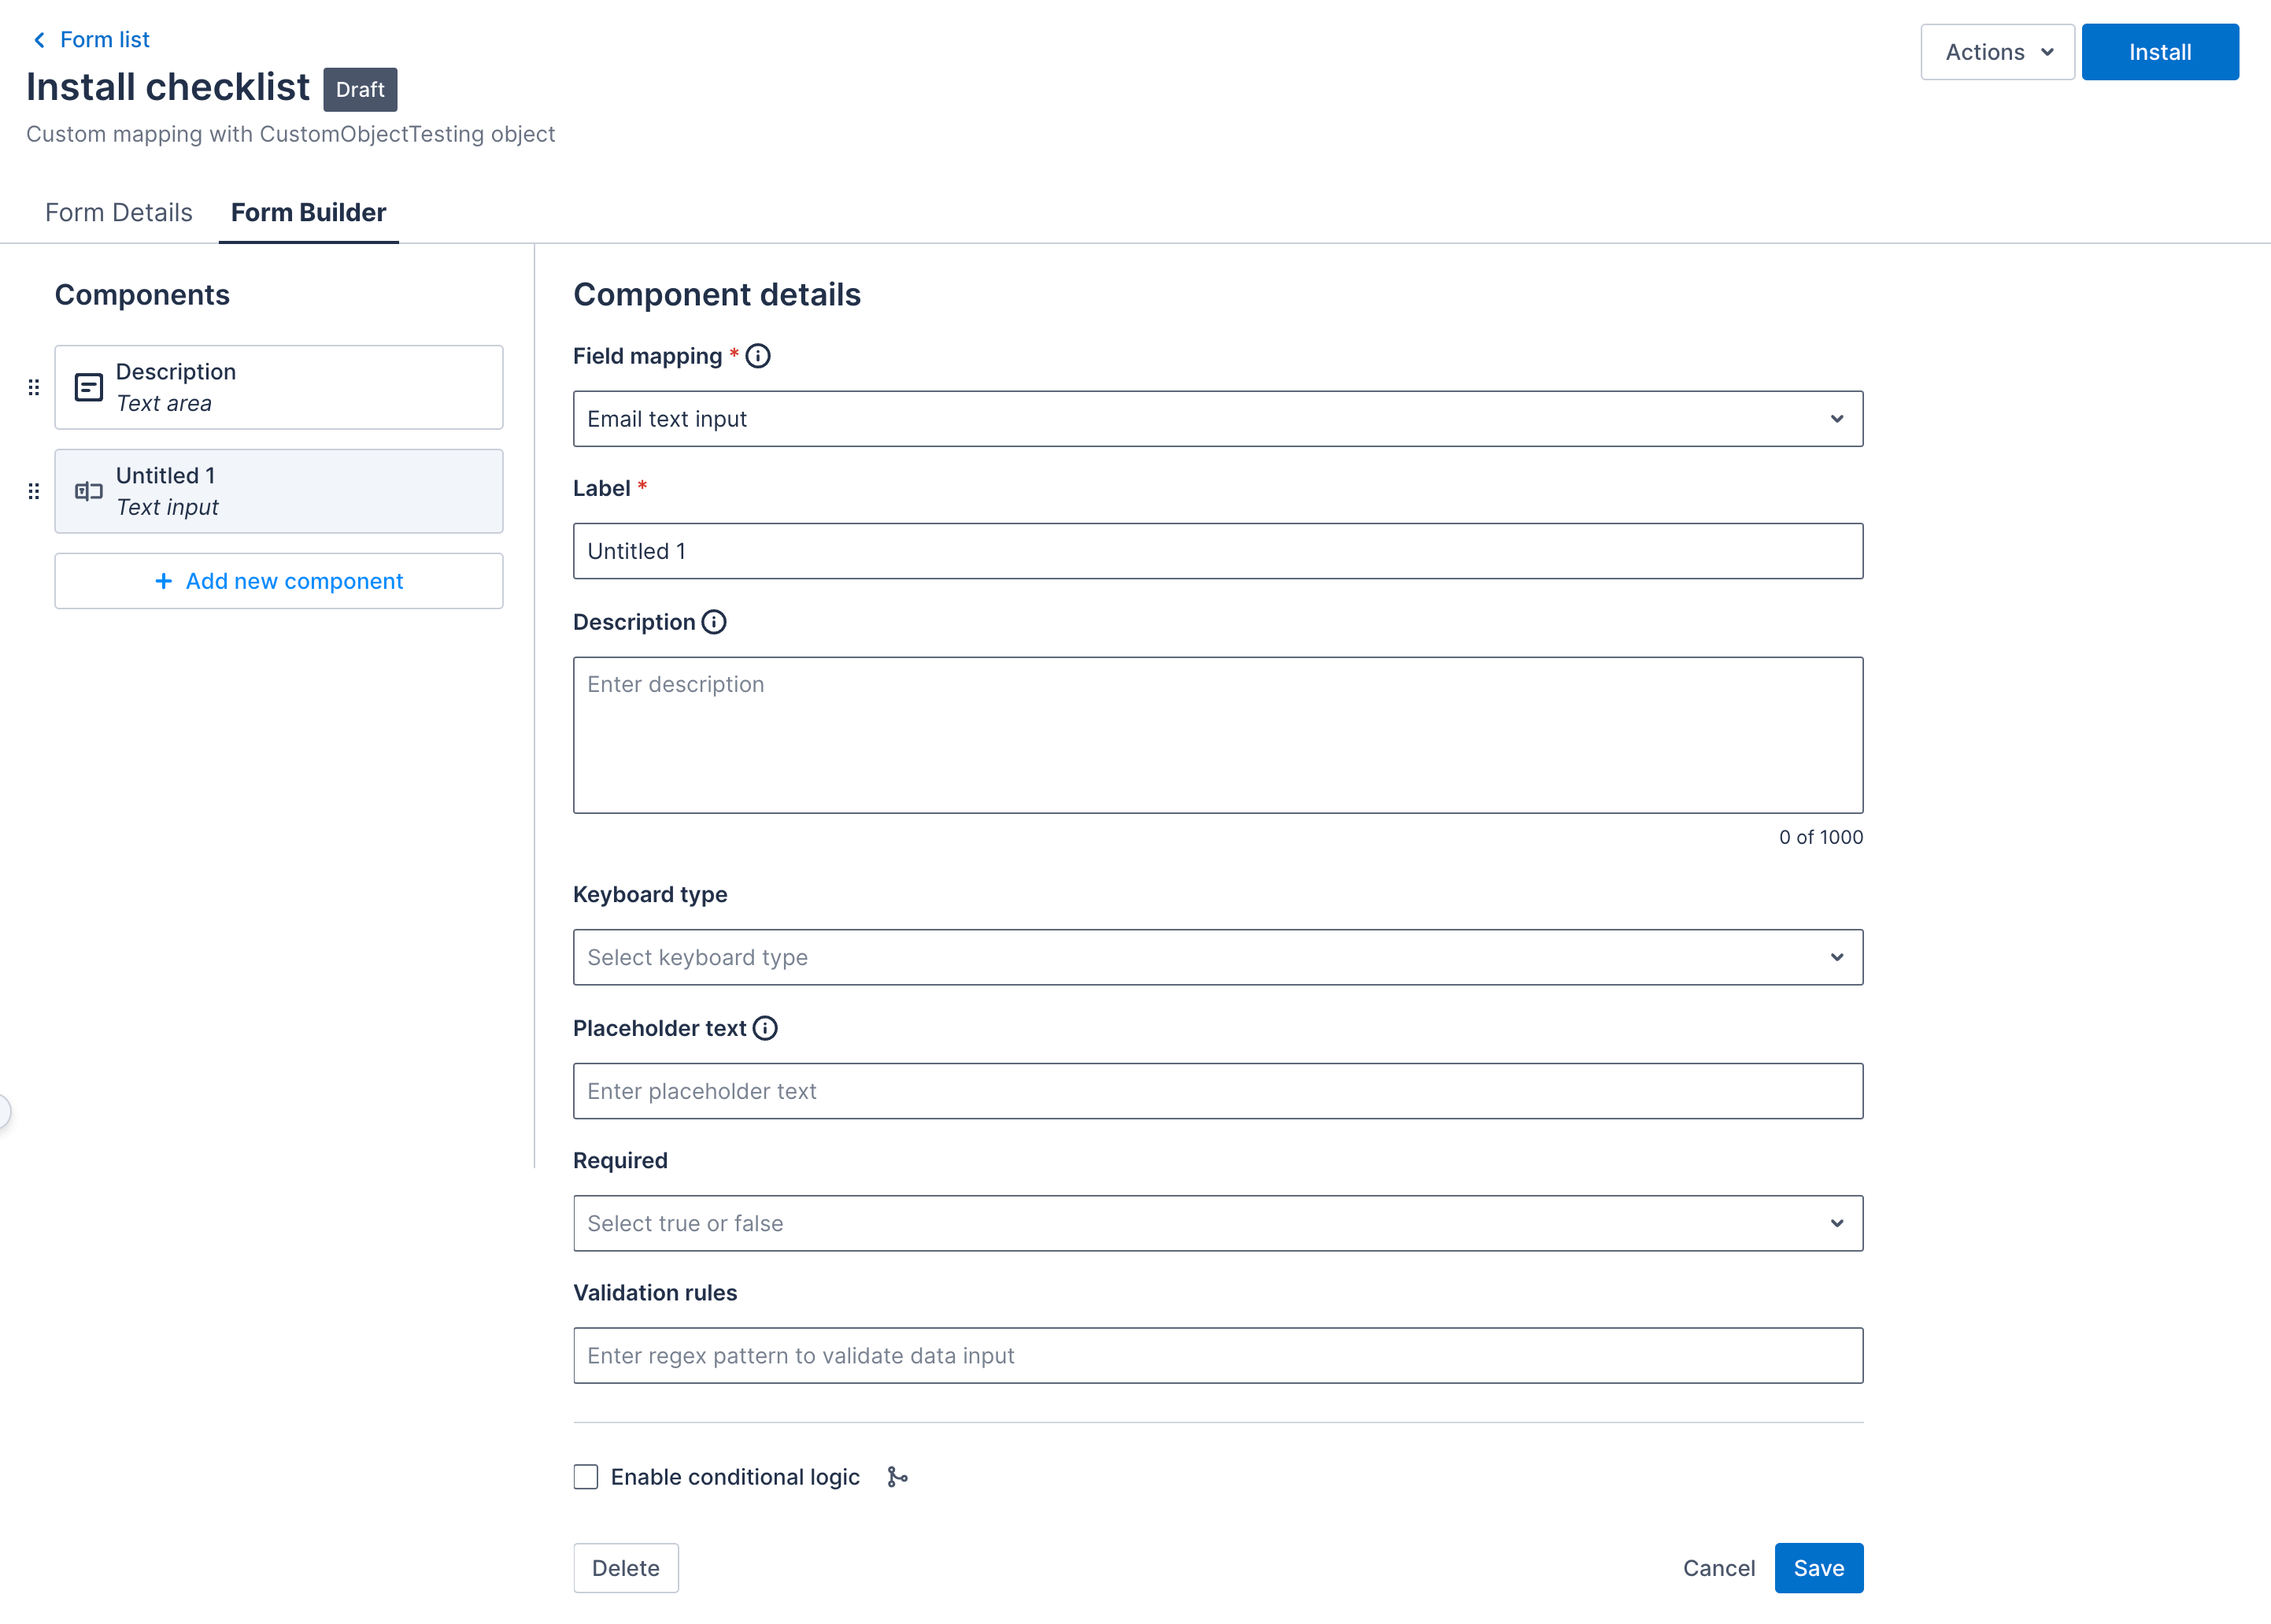
-
From the Field mapping drop-down, select the custom field you want to map.
Note
- You can only select fields that have the field type compatible with the component you are working on.
- For the Update job records form, only custom fields of the
Jobsobject can be selected here.
-
Enter a Label and complete the other fields, as required, according to the component type. For a complete list of Form Builder components and their properties, see Form Builder components.
Note
For the first time you select a field to map, the component’s Label is automatically populated with the Field label of the selected field. You can still edit it. -
Click Save.
For drop-down or multi-dropdown components, when you map them to a picklist/multi-picklist field, the drop-down choices are automatically populated from the picklist values of the selected field. These choices cannot be edited directly from the Form Builder page; instead, you need to modify them in the Data management > Objects & fields settings.
Re-order components
You can re-order the components in the form by dragging the component re-order icon![]() and dropping them into the desired order.
and dropping them into the desired order.
Note
You must uninstall the form from the Skedulo Plus app before you can edit or re-order the components.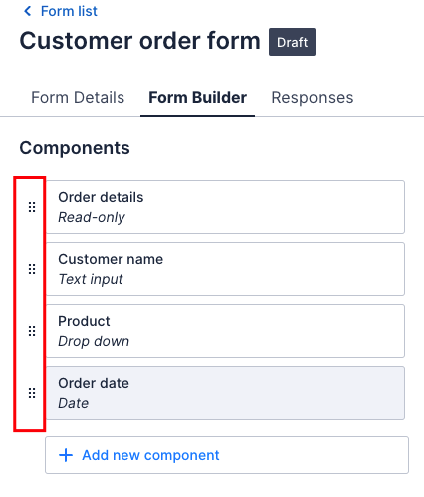
The next step is to install the form. For details on how to do this, please see the article on installing and uninstalling forms.
Feedback
Was this page helpful?