Configure the navigation menu
Overview
The navigation menu is the header navigation bar located at the top of every Skedulo web app page. It is the primary tool used to navigate across the Skedulo web application and it consists of clickable labels to the left and a quick-create menu to the right of the search bar.

As an administrator, you can customize the items on the navigation menu and, if you have access to the beta feature, in the quick-create menu via the Navigation menu settings page.
Customize the navigation menu
Menu item types
| Type | Description |
|---|---|
| Page | The standard set of pages that are available in the web application. For example, Swimlane, Calendar, and Job Details. |
| Platform page (beta) | Next-generation pages that provide more powerful functionalities. |
| Web extension | A customization feature that extends the Skedulo web application UI. It enables you to build custom user interfaces using our Skedulo Lens API, GraphQL schema, and other third-party providers. |
| Link | Any URL you provide. |
| No Link | The menu item is not hyperlinked. This can optionally be leveraged to group a series of menu items where there is no natural destination for the parent menu item. |
Add a menu item
To add a new item to the navigation menu, do the following steps.
- Navigate to Settings > Navigation menu.
- Click Add menu item to display the Add menu item modal.
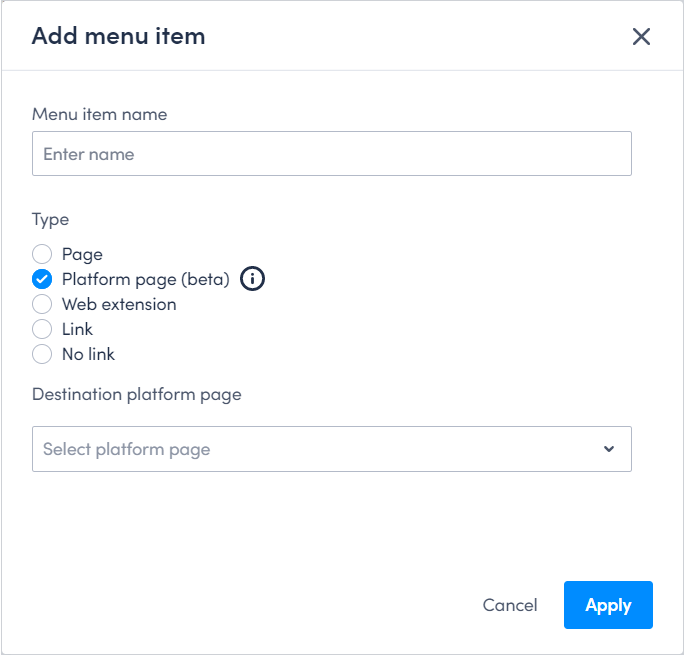
- On the Add menu item modal:
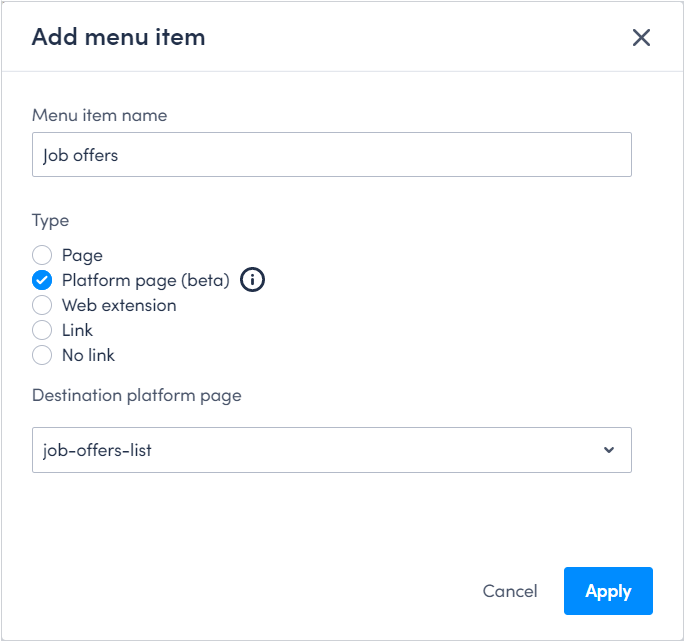
- Enter a name for the new menu item, for example, Job Offers.
- Choose the type of event that will be triggered.
- If you selected Page or Platform page, select a destination page from the drop-down menu.
- If you selected Web extension, select a web extension from the list.
- If you selected Link, enter the URL.
- Click the Roles with access drop-down and select all roles that must be able to access the item in the navigation menu.
- Click Apply.
- On the Configure the navigation menu page, click and drag the new menu item to where you want it to appear.
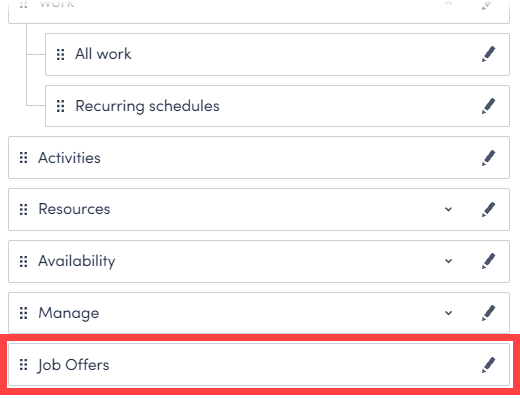
- Click Save.
- Refresh your browser window to view the updated navigation menu.

Order and nest menu items
Administrators can modify the ordering of the navigation menu by dragging a menu item to a new position.
-
Navigate to Settings > Navigation menu.
-
Click and hold a menu item in the list. The cursor changes to indicate the item can be moved.

-
Drag a menu item up or down to change its position in the list. Drag a menu item to the right to nest it beneath a parent item.
-
Click Save to save your changes.
-
Refresh your browser window to view the updated navigation menu.
Customize the quick-create menu
This is a beta feature
Beta features should be considered “in development” and may not be fully supported or complete.
Beta programs are invaluable for helping to validate the value and impact of features through feedback and insights. If you would like to participate in beta programs and access this feature, please contact your Skedulo Customer Success Manager.
The quick-create menu can be configured in the same way as the main navigation menu items; however, the ability to do so must be enabled in the Settings. Quick-create menu options can be hidden from users with certain roles, renamed to better fit your use case, or expanded to include links to different areas of the web app.
Quick-create menu item types
| Type | Description |
|---|---|
| Create flow | The standard set of web-app pages that are available by default as navigation items in the quick-create menu. This includes Job, Activity, Availability, and Unavailability. |
| Custom link | A link to a page created using Skedulo’s web extension functionality. |
Navigate to the quick-create menu settings
To customize the quick-create menu, do the following steps:
- Ensure the option to customize the quick-create menu has been enabled.
- Navigate to Settings > Navigation menu.
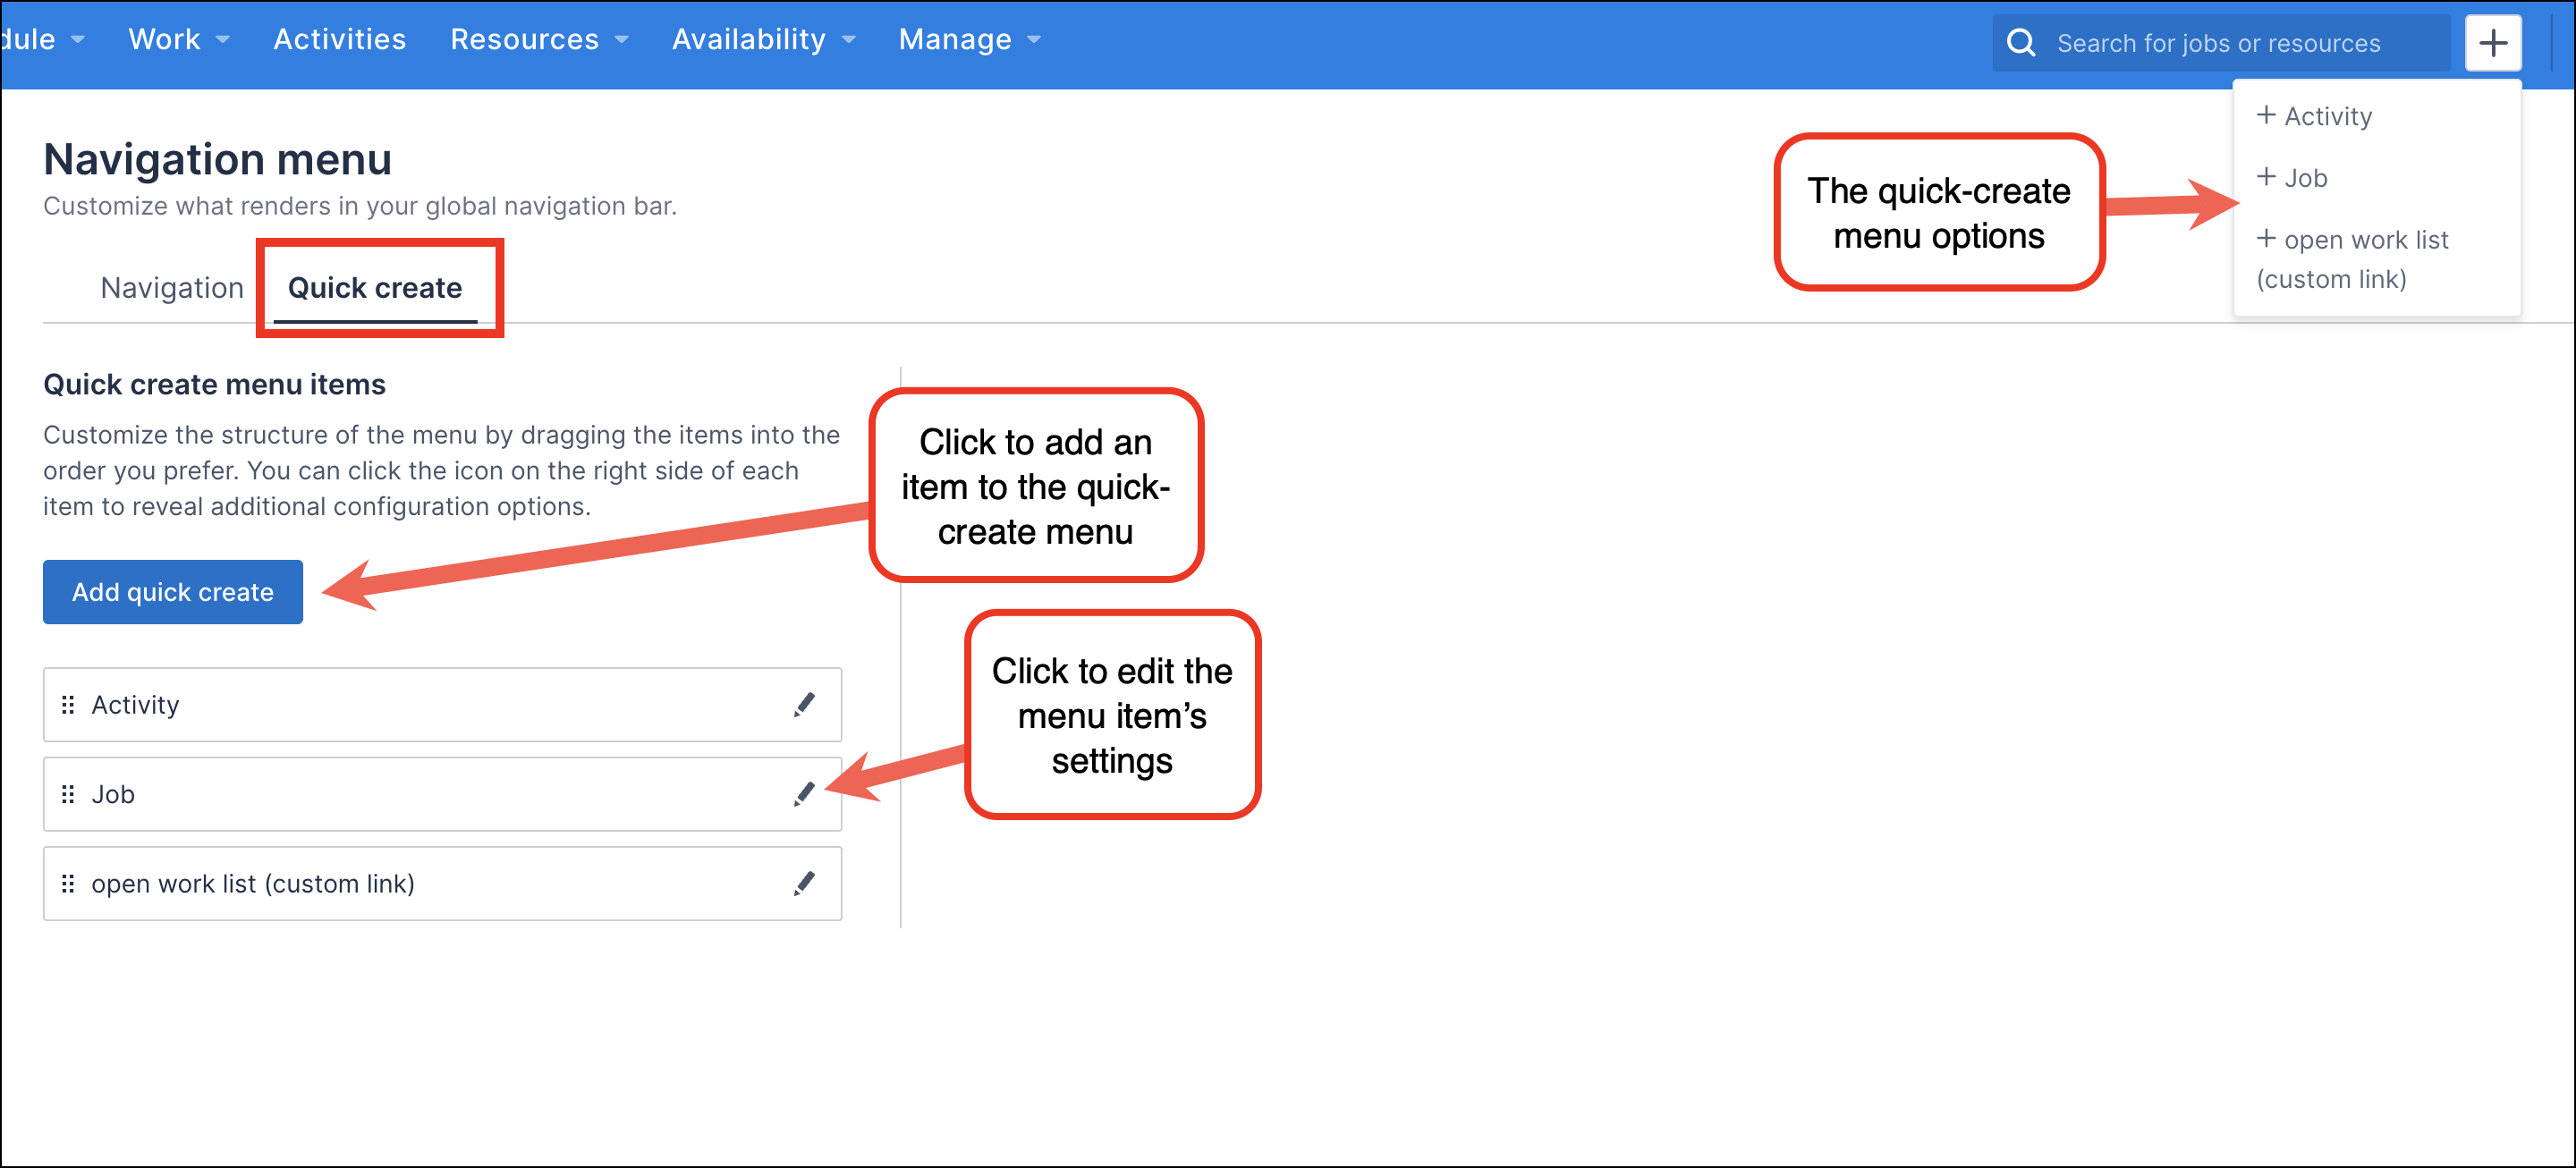
- Click the Quick create tab.
The instructions in the sections that follow describe how to add a new item to the menu, make changes to existing items, and remove an item.
Hide a quick-create menu item from a group of users
Role-based customization of the navigation and quick-create menus allows you to choose which navigation items are available to which users; based on their user roles. This can be useful for eliminating options in the UI that users do not need so that their workflows are cleaner and easier.
To hide a quick-create menu item from a subset of users, do the following steps:
- Navigate to Settings > Navigation menu and then click the Quick create tab.
- Click the pencil icon on the menu item you want to hide.
- Under Roles with access, remove the roles to which the users you want to hide the option from belong.
- Click Done.
- Refresh your browser window to view the updated menu.
See Role-based-customization of the navigation menu for more information about customizing navigation options based on user roles.
Add an item to the quick-create menu
To add a new item to the navigation menu, do the following steps.
- On the Quick create tab, click Add quick create. The Add quick create modal displays.
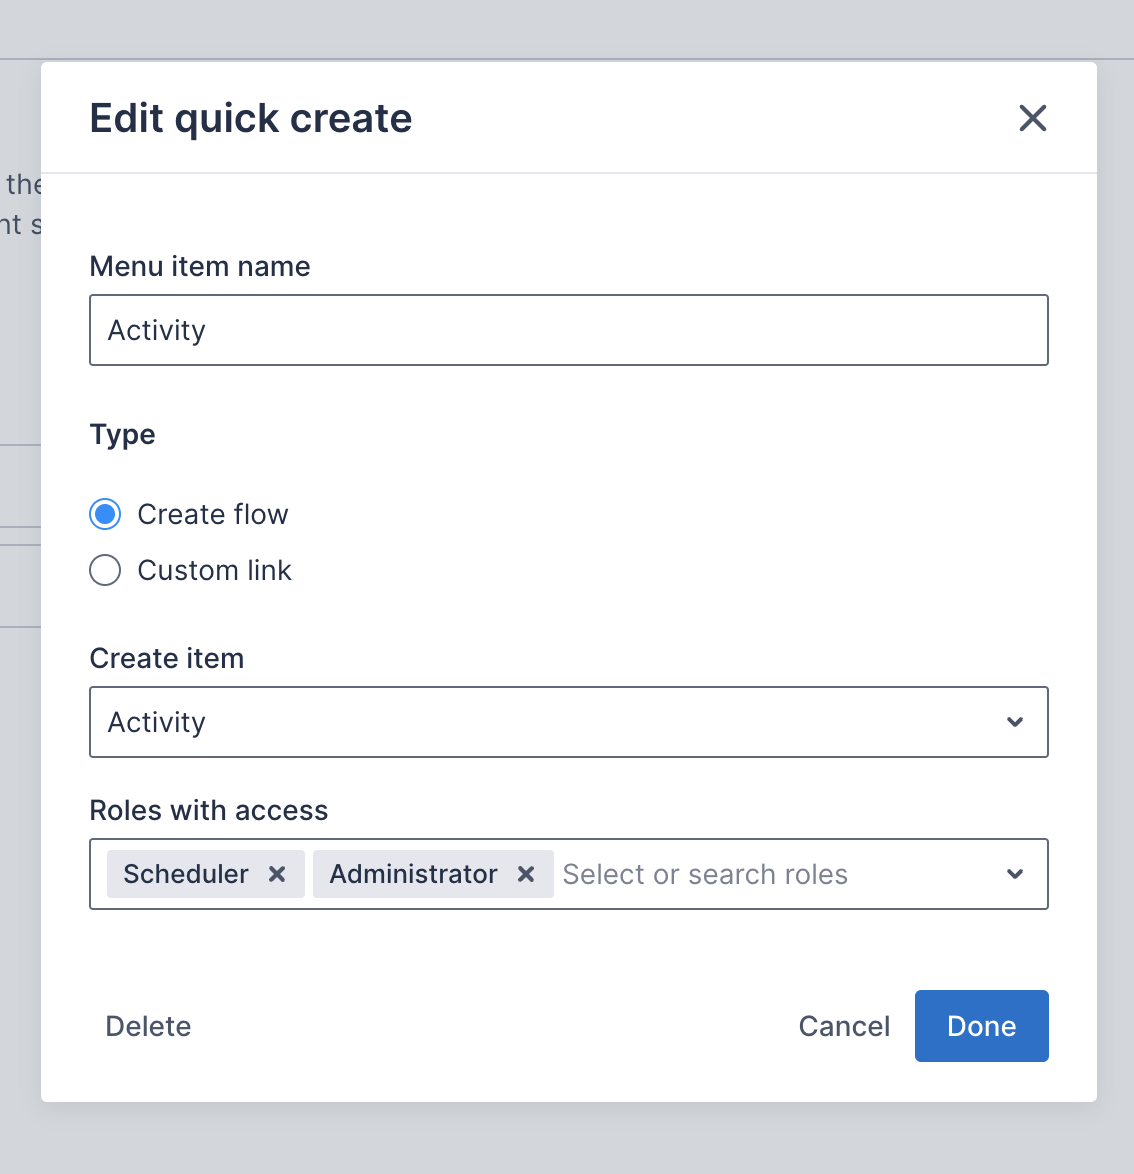
- On the Add quick create modal:
- Enter a name for the new item.
- Select the type item to add.
- If you selected Create flow, then select an item from the drop-down menu.
- If you selected Custom link, then enter the path for the destination page. For example:
/work/list.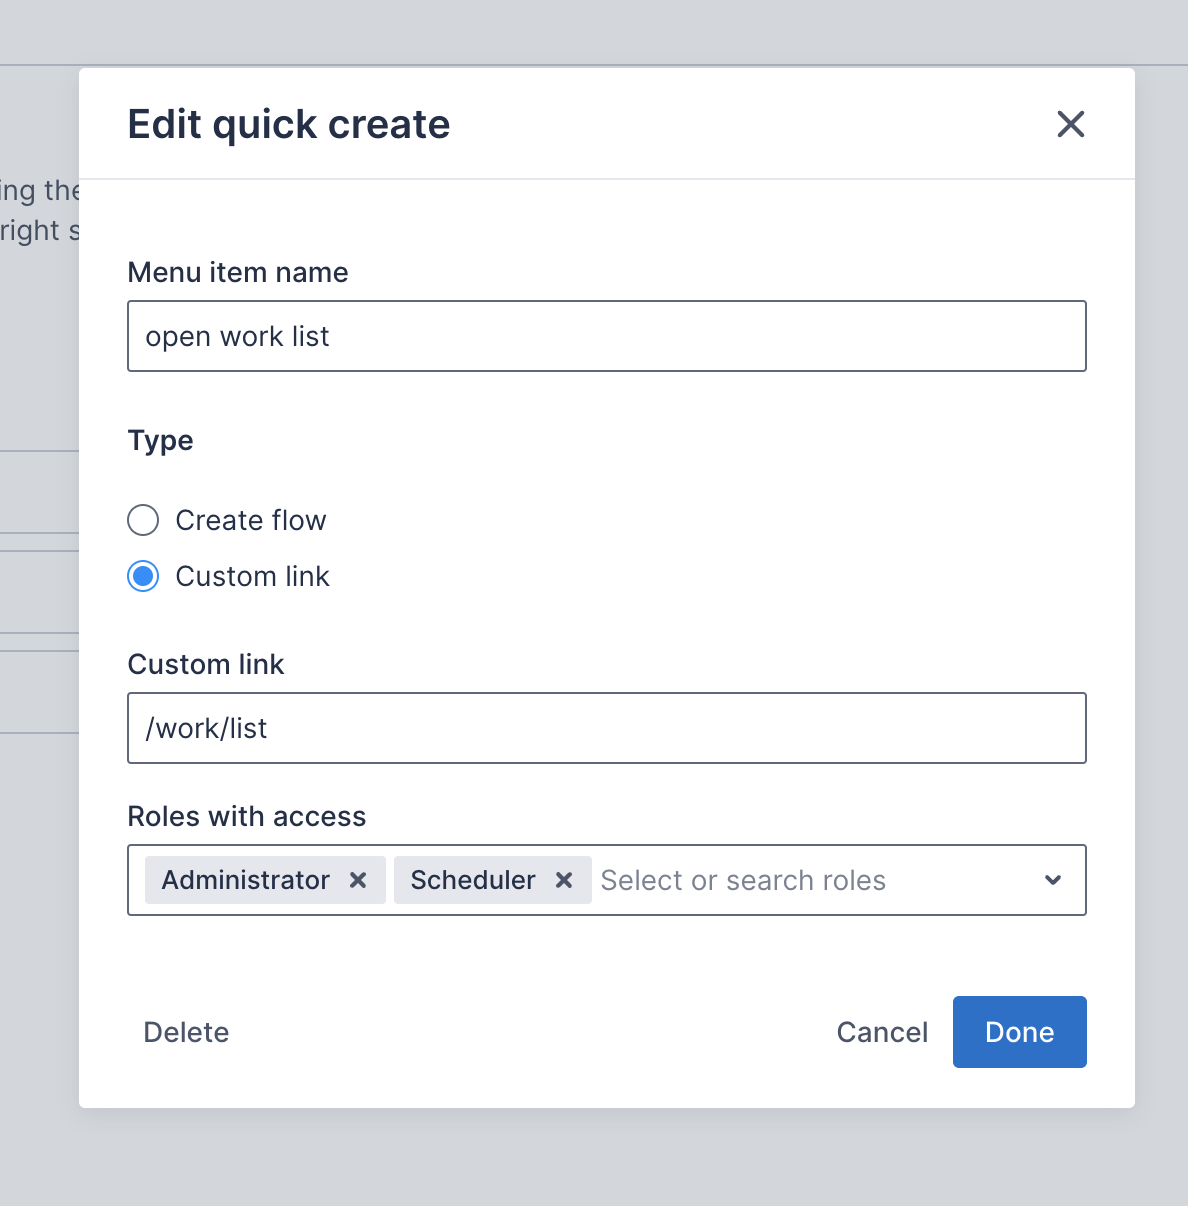
- If you selected Create flow, then select an item from the drop-down menu.
- Click the Roles with access drop-down and select all roles that must be able to access the item in the quick-create menu.
- Click Apply.
- Click and drag the new menu item to where you want it to appear.
- Click Save.
- Refresh your browser window to view the new items in the quick-create menu.
Change the order of quick-create menu items
Administrators can modify the ordering of the navigation menu by dragging a menu item to a new position.
- Navigate to Settings > Navigation menu and then click the Quick create tab.
- Click and hold a menu item in the list. The cursor changes to indicate the item can be moved.
- Drag the menu item up or down to change its position in the list.
- Click Save to save your changes.
- Refresh your browser window to view the updated menu.
Related links
Role-based-customization of the navigation menu
Feedback
Was this page helpful?