Manage users
Note
-
The functionality described on this page is for the Users setting page on the Skedulo Pulse Platform, which replaces the user list page that has been deprecated.
-
If not already enabled, an administrator must enable the new user management functionality using the instructions in General web app configuration settings.
View a list of your team’s users
To see a list of all users, from which you can view and update details, and manage roles and account statuses, do the following:
- In Settings, navigate to Users & roles > Users. The list of users displays.
Sort and filter the list of users
The Users page has sorting and filtering to customize your view of the user list. You can also customize which columns are visible and save your sort, filter, and column configrations as reusable, sharable views.
Search for a user
The search bar can be used to only show user records that match the search term. The search is dynamic and matches on one or more characters or numerals.
Understand user account statuses
| Status | Description | Available actions |
|---|---|---|
| Active | The user has successfully logged into the system. | Edit, Deactivate. |
| Created | The user record has been added to the list, but no invite has been sent and the user has not yet logged in. | Edit, Send invite, Deactivate. |
| Deactivated | The account is not active and the user cannot log into the team, or be allocated to work. | Edit, Activate. |
| Invited | The user account has been created and an invite has been sent to help them log into their account for the first time. | Edit, Send invite, Deactivate. |
Add a new user
Adding a new user account creates access for someone to log into the team that you are currently logged into. It will not give them access to any other environments, for example development or UAT teams, that may be associated with your Skedulo customer account.
To create a new Skedulo user in your team, do the following:
- On the Users setting page, click Create user. The Create person page displays.
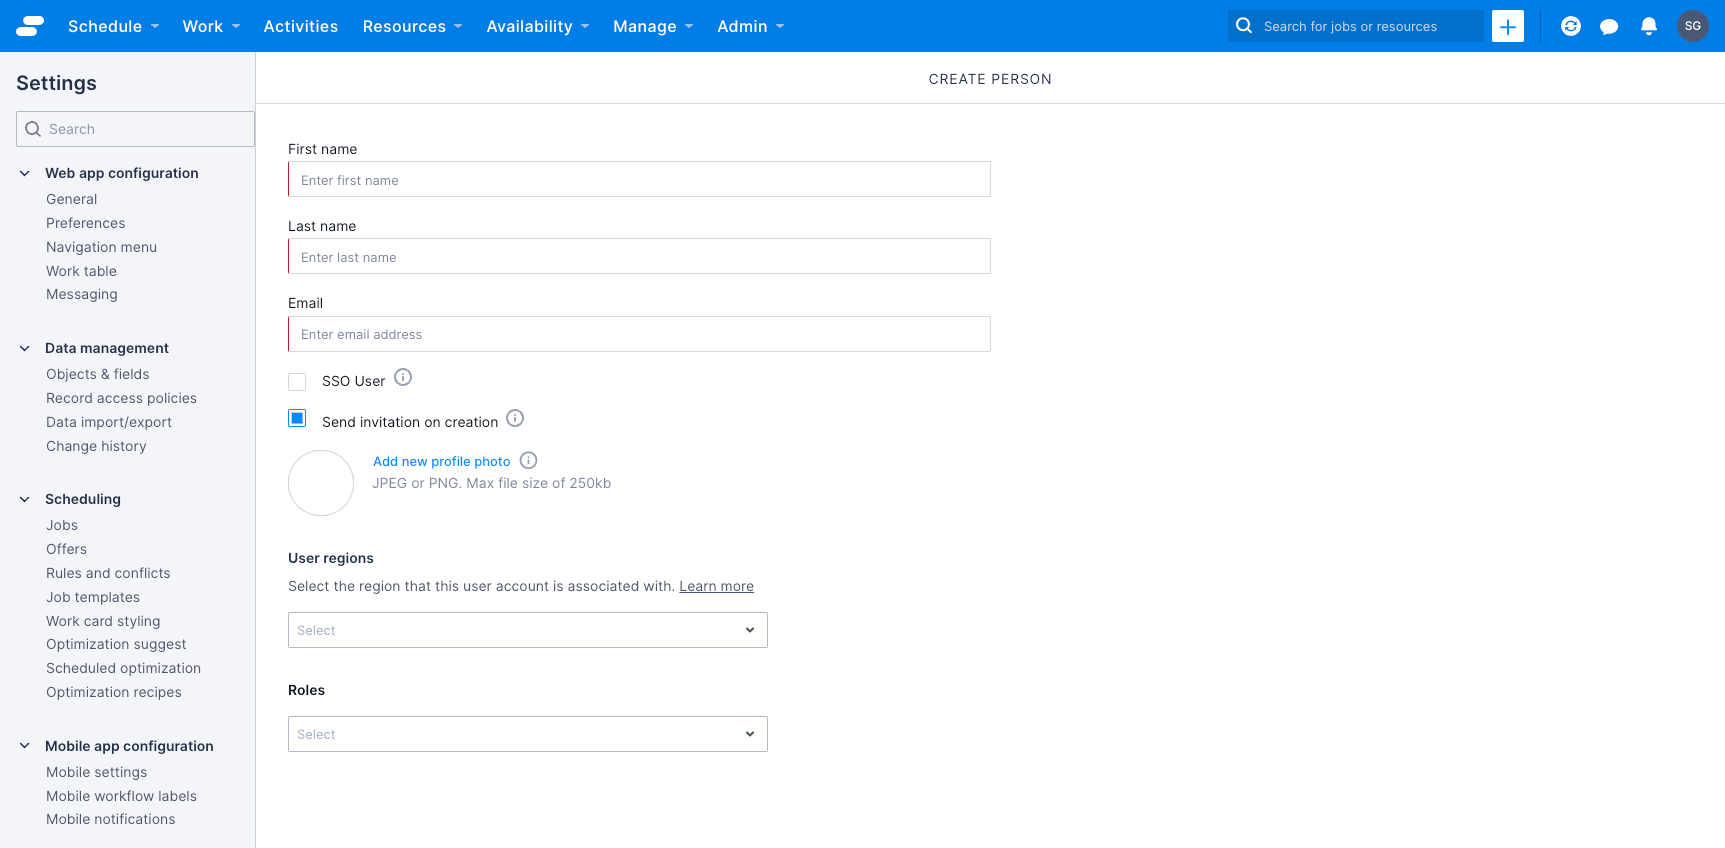
- Enter the following mandatory details for the new user:
- First name
- Last name
-
If SSO has been set up for your team, you can select the SSO user checkbox to add SSO as a login option for the user.
-
If you want the user to be able to log in as soon as the account is created, then click the Send invitation on creation check box. If you prefer, you can manually send the invite from the Users page after the account has been created. The user will not be able to log in without an email invitation.
-
Click Add new profile photo to attach a profile picture for the user, if required.
Note
The maximum image size for the profile photo (.jpg or .png) is 250KB. The photo can be cropped by dragging it around, or zooming in or out. -
If applicable, select one or more regions for the user from the User regions dropdown menu.
Note
Whether this field is visible or not is determined by an admin setting and is only available on the Skedulo Pulse Platform.- From the Roles dropdown menu, select one or more roles for the user. If you choose Resource, you need to enter more details:
- Region (mandatory)
- Secondary regions
- Category
- Type
- Address
- Mobile
- Country code
- Preferred notification method
- Working hours
- Click Save.
Note
To help you manage your users and stay within your contracted allowance of users, we will display warning messages as you approach and then hit your total allowance. Please contact your customer success manager if you need to make adjustments to your limit.Manually invite a user to log in (non-SSO users only)
If Single Sign-on (SSO) is not in use, then users need to be invited to log in via email. This is done either when the user record is created or afterwards by manually triggering the email invite. Without an invite, a user will be unable to log in to Skedulo.
If you did not select Send invite on creation when setting up the new user, you can manually send an invite by doing the following steps:
- In the Users list, click the vertical ellipsis icon
 (actions menu) on the user to whom you want to send the invite.
- Click Send invite. An email invitation containing a link to log in is sent to the user’s email address. The email invitation is valid for 5 days.
Upon accepting the invitation, the user will need to set their password before they can gain access.
Resend an invite
If a user’s status is Invited, you can resend an invite by doing the following:
- Click the vertical ellipsis icon (actions menu) of the user to whom you want to resend the invite.
- Click Send invite.
View or edit an existing user’s details
To view or edit a user’s full details do the following:
- Click the vertical ellipsis icon (actions menu) of the user.
- Click Edit.
- Make the necessary changes and then click Save.
Deactivate a user
To deactivate a user, do the following steps:
- Click the vertical ellipsis icon (actions menu) of the active user, and then click Deactivate.
Important
Once deactivated, the user will be automatically unscheduled from any outstanding job allocations and shifts. - To proceed with deactivation, click Deactivate on the confirmation message.
Note
There is a 12-hour delay before the user is actually prevented from accessing the system.
Reactivate a user
To reactivate a user, do the following steps:
- Click the vertical ellipsis icon on the deactivated user, and then click Activate.
- To proceed with the reactivation, click Activate on the confirmation message.
View the history of changes to the Users list
The user History tab shows all changes to user records, including the date and time the change was made, the user who made the change, and a summary of the changes that were made.
To see a record of changes made to user accounts in your team, do the following:
- On the Users setting page, click the History tab.
Feedback
Was this page helpful?