View and edit triggered actions
Overview
Triggered actions allow you to configure processes in your Skedulo team that execute automatically for certain events. You can view a list of all triggered actions that have been configured in your team. This includes viewing details of the configuration and the activity logs. You can also create, edit, and delete triggered actions from the web app.
To learn more about triggered actions in Skedulo and how to configure them via the API, please see the triggered actions developer documentation.
Prerequisites
- View triggered actions: To view the list of triggered actions and the details of a specific one, users must have the Administrator role or a role that includes the “View webhooks and triggered actions” permission.
- Create, edit, or delete triggered actions: To create, edit, or delete triggered actions, including enabling or disabling them, users must have the Administrator role or a role that includes the “Modify webhooks and triggered actions” permission.
View a list of triggered actions
To view a list of triggered actions in your team:
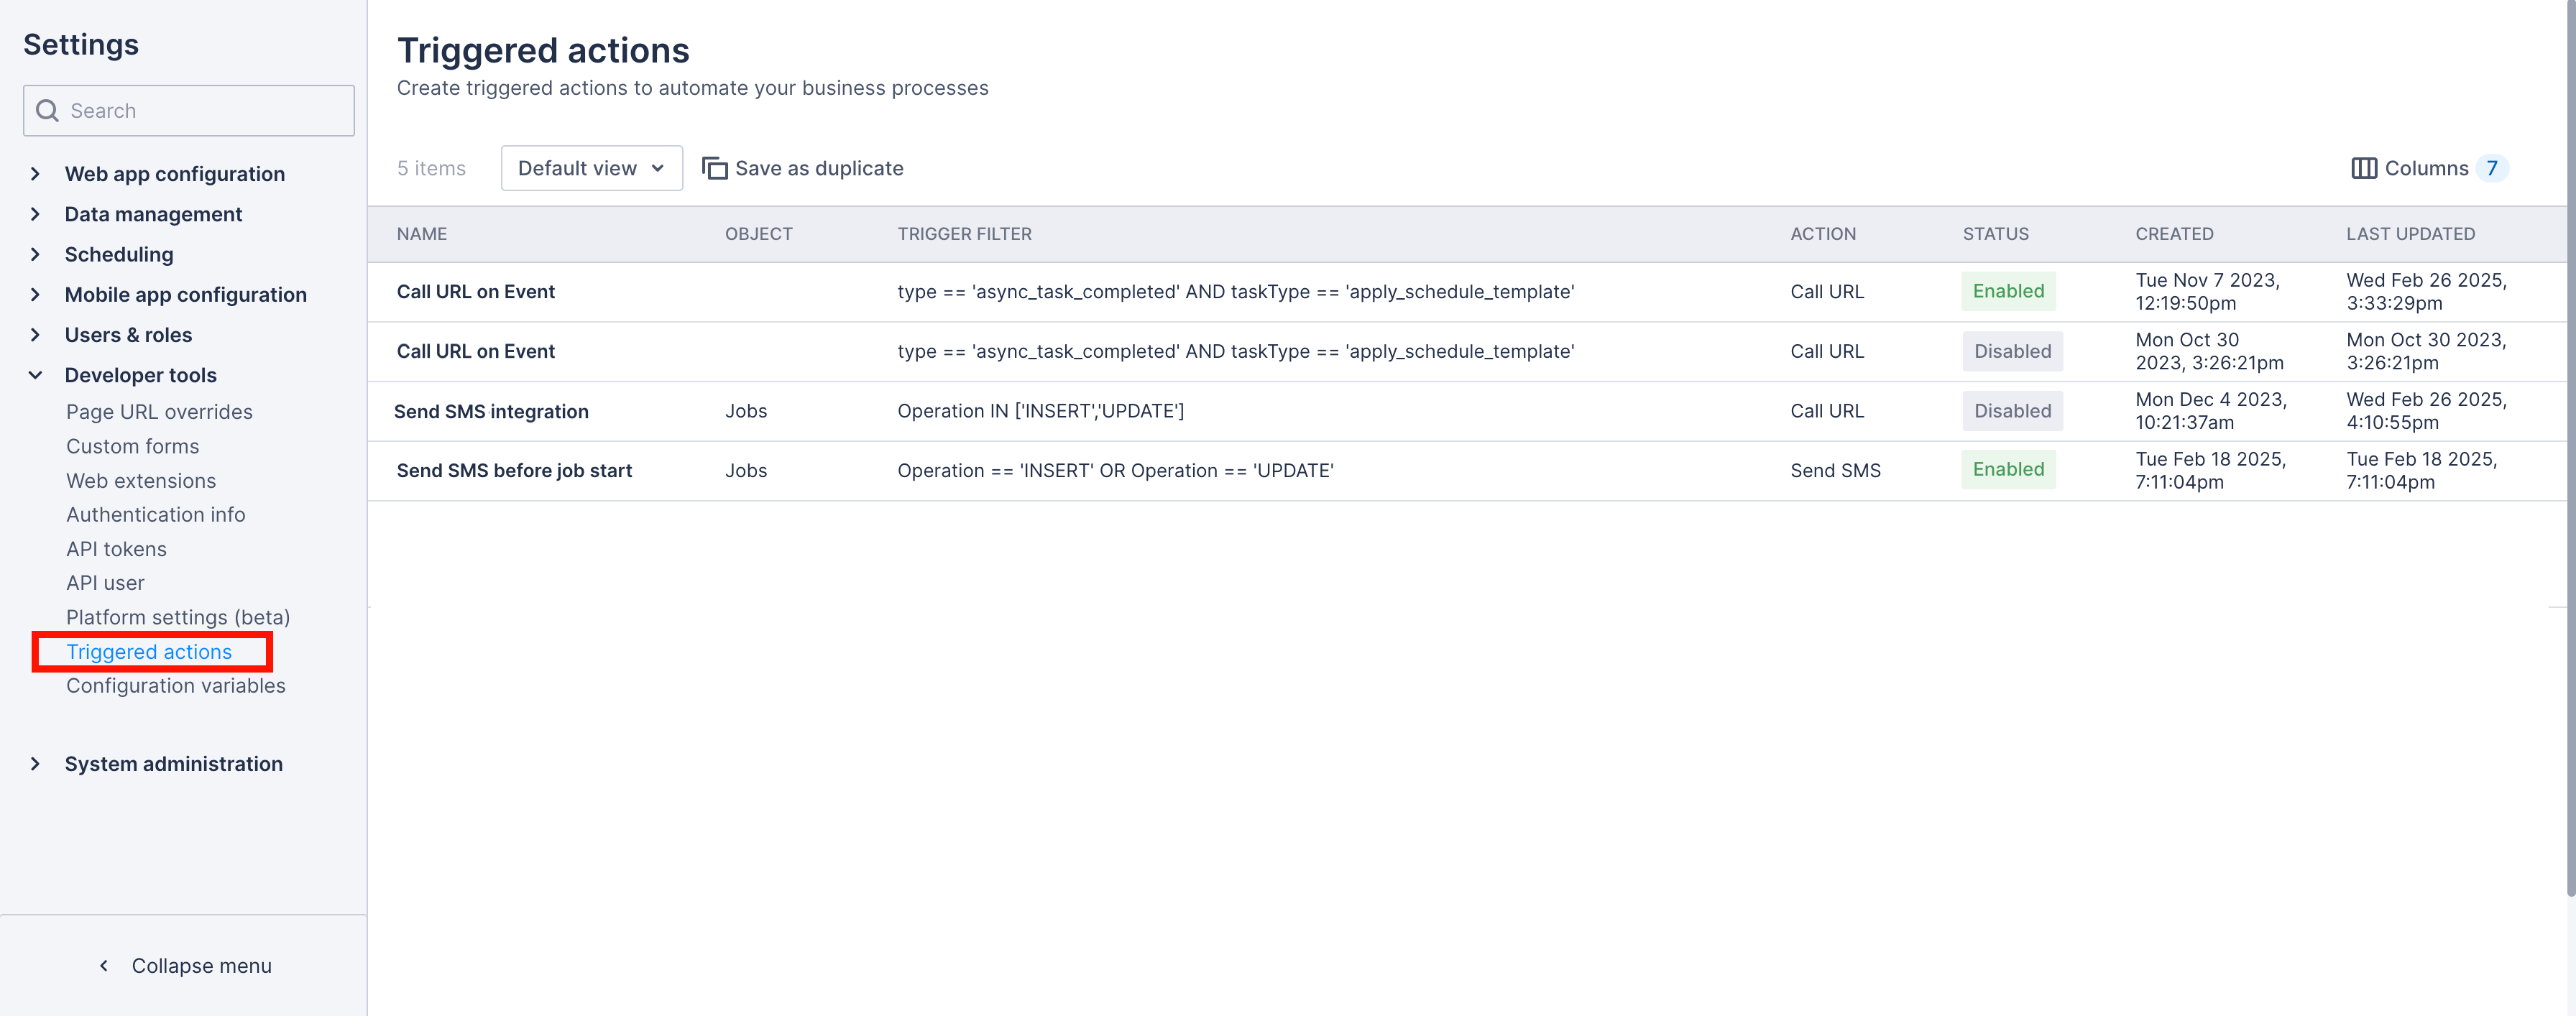
- In the web app, navigate to Settings > Developer tools > Triggered actions. The list of triggered actions displays.
View details
To view details of a specific triggered action:
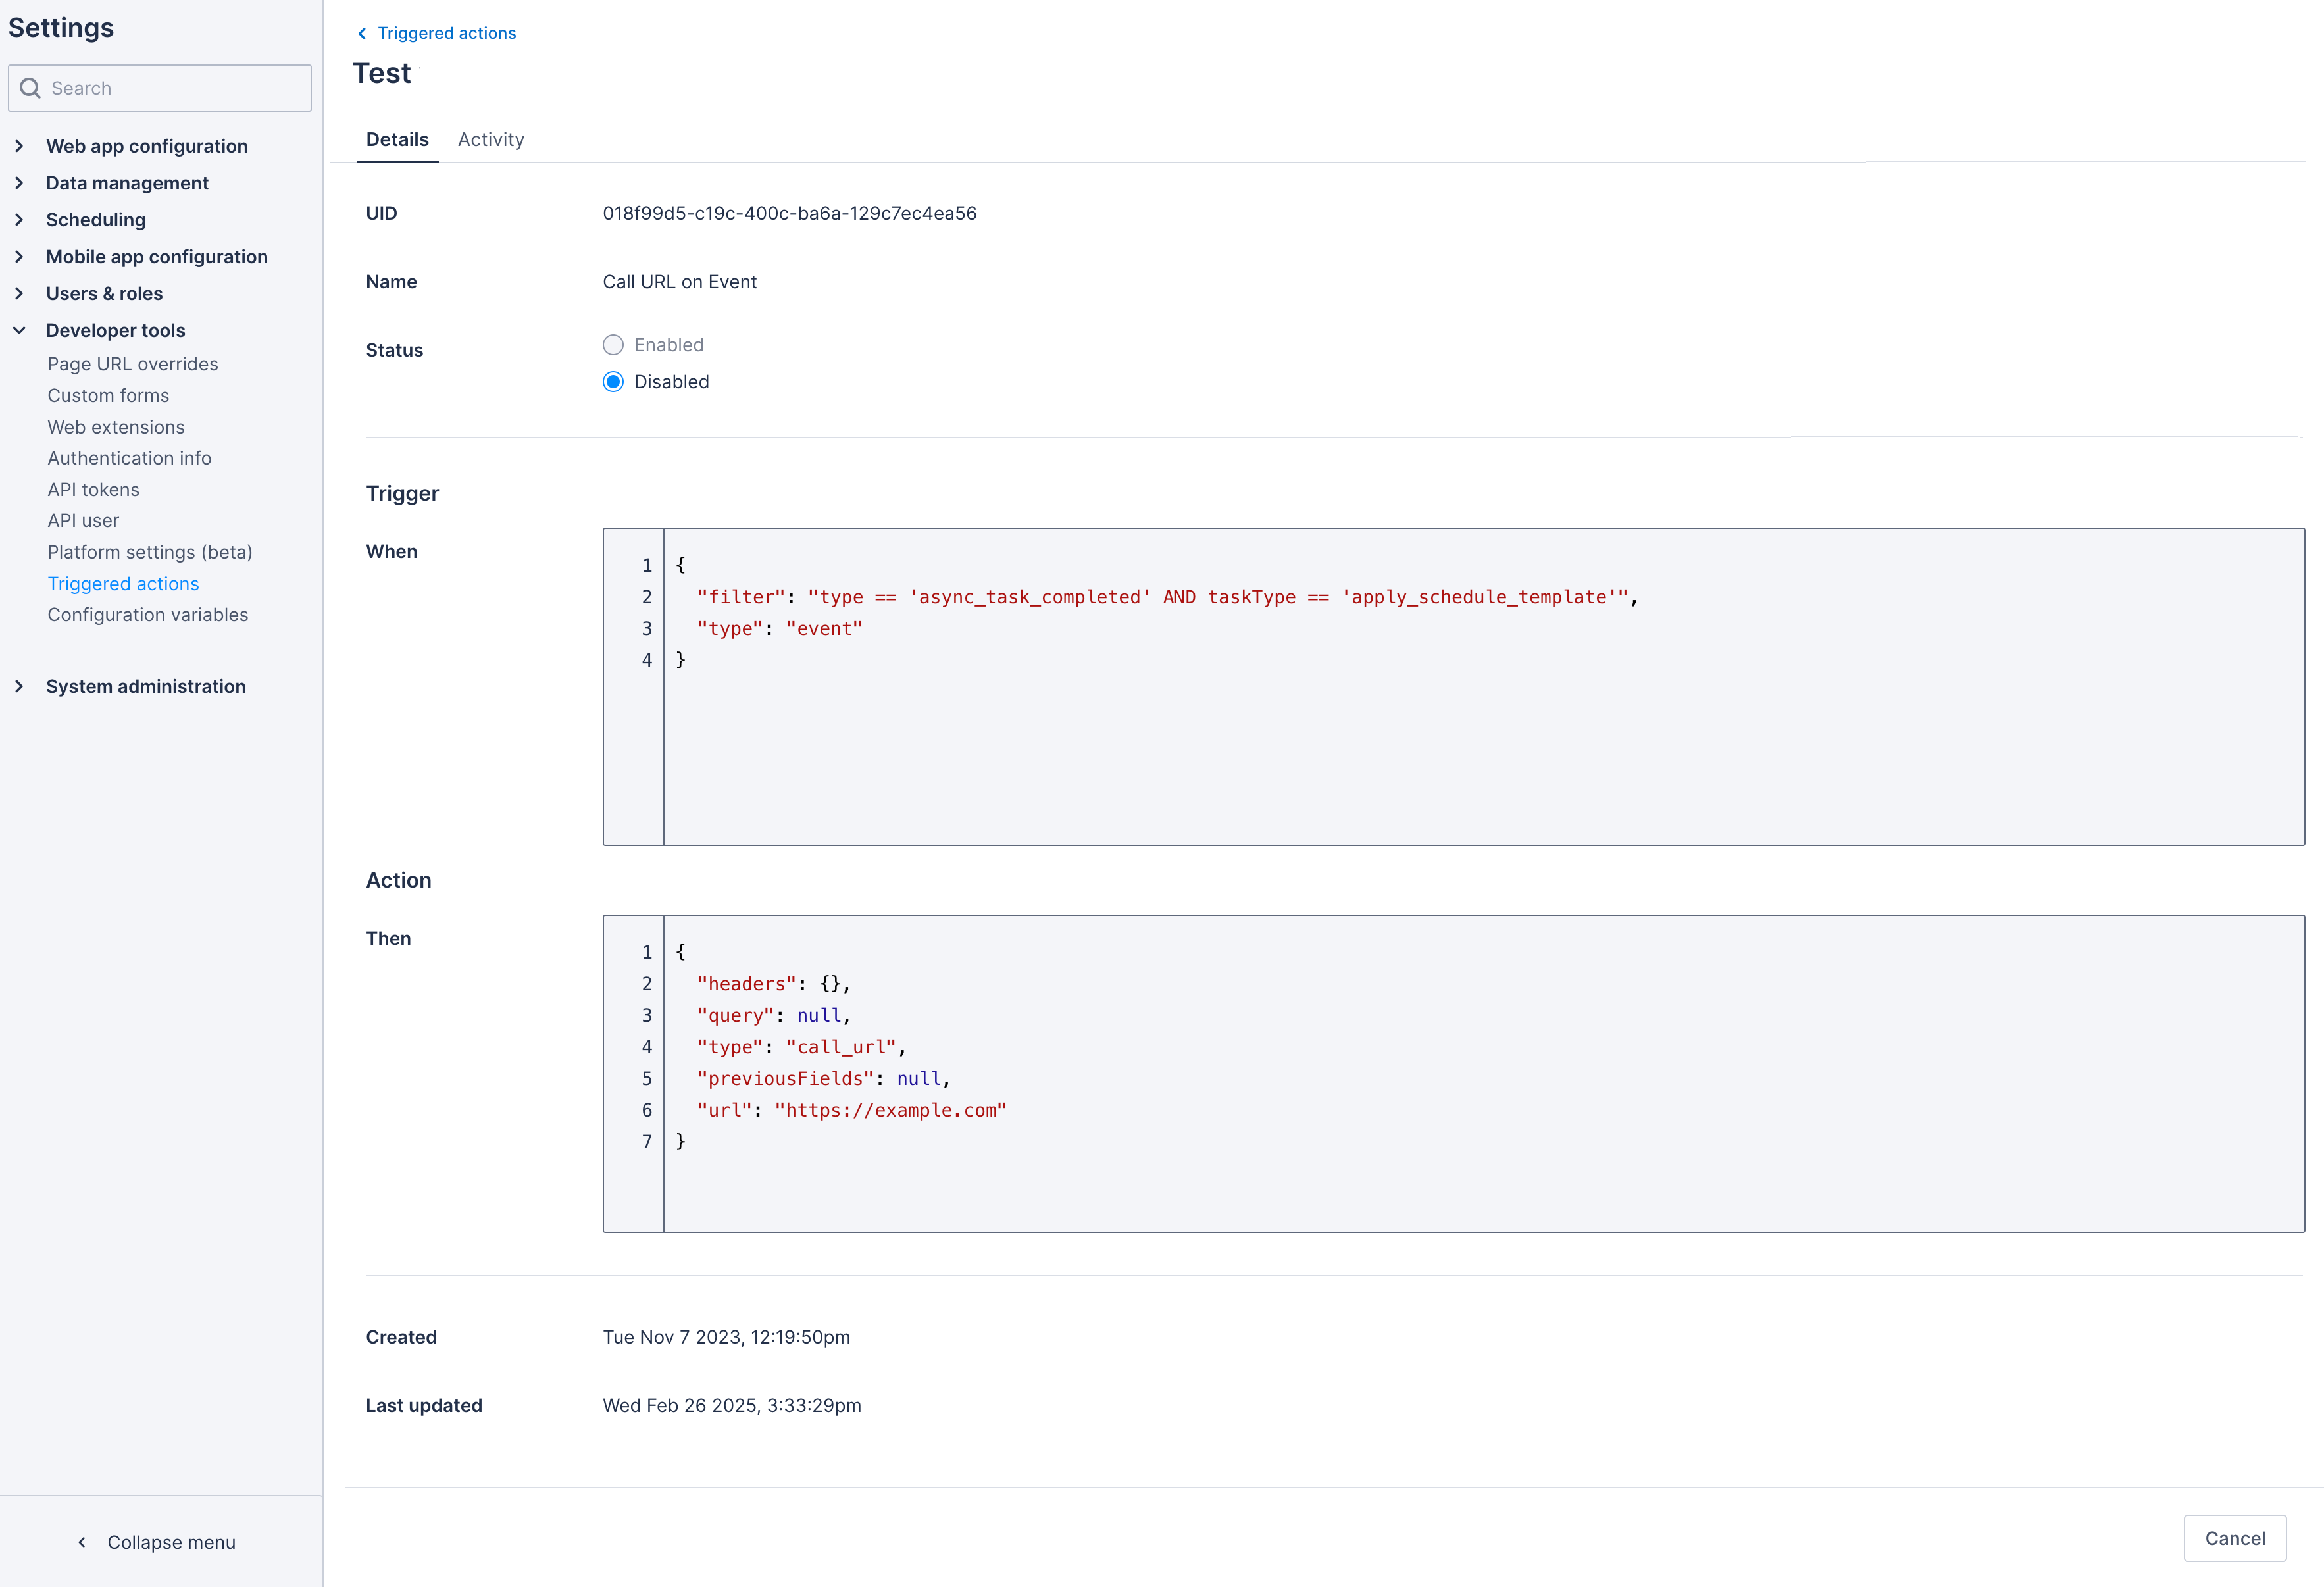
- In the list of triggered actions, click the name of the triggered action you want to view. The triggered action Details tab displays.
View triggered action activity (logs)
To view the activity logs for a specific triggered action:
- In the triggered actions list, click the name of the triggered action you want to view. The triggered action Details tab displays.
- Click the Activity tab label. The list of triggered action activities displays.
Create a triggered action
To create a new triggered action:
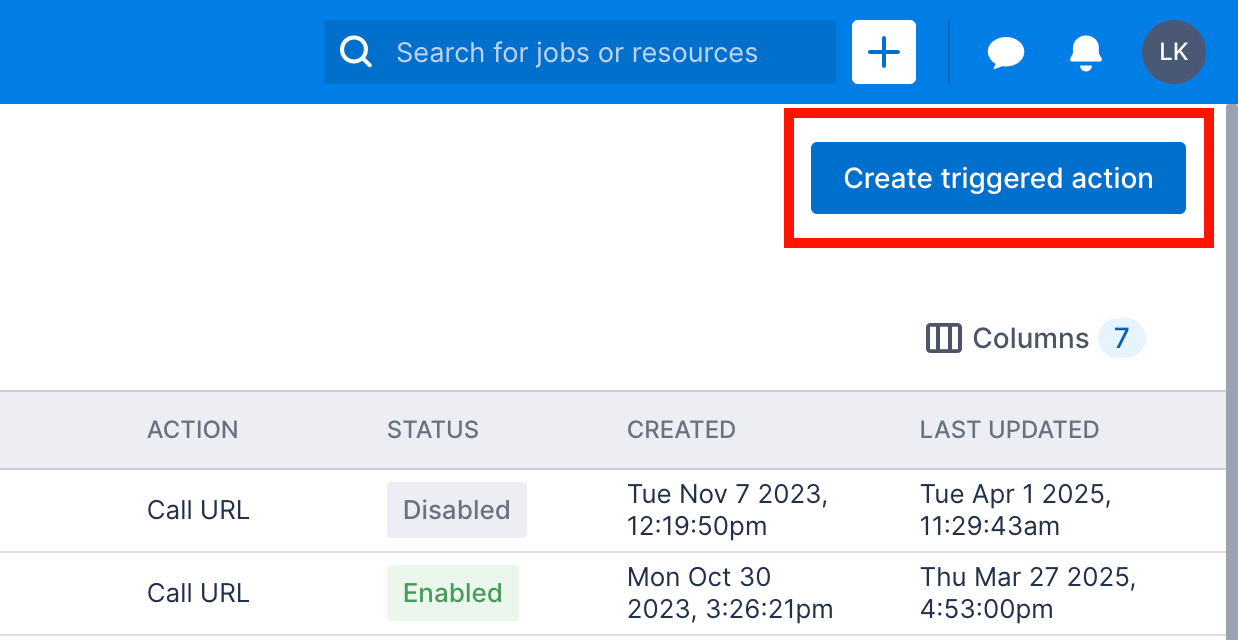
- In the triggered actions list, click Create triggered action.
 The triggered action Create new triggered action page displays.
 - Enter a unique Name for the triggered action.
- Select a Status to determine whether the triggered action is Enabled or Disabled when created.
- Click the Trigger drop-down and select the conditions that you want to trigger an action. A text box with placeholder text displays, depending on the option you select.
- Edit the text to suit your use case. Ensure that the contents of the text box are valid JSON.
- Click the Action drop-down and select the type of action to occur when the trigger condition is met. A text box with placeholder text displays, depending on the option you select.
- Edit the text to suit your use case. Ensure that the contents of the text box is valid JSON.
- To create the triggered action, click Create. To leave the page without saving any changes, click Cancel.
For more information about EQL used in the filter parameter, please see the developer documentation.
Edit a triggered action
To edit details of a specific triggered action, do the following steps:
- Navigate to the Details tab of the triggered action to update.
- Make changes to the triggered action, as required.
- To apply changes, click Save. To leave the page without saving any changes, click Cancel.
Enable or disable a triggered action
To enable or disable a triggered action from the web app:
- Navigate to the Details tab of the triggered action to update.
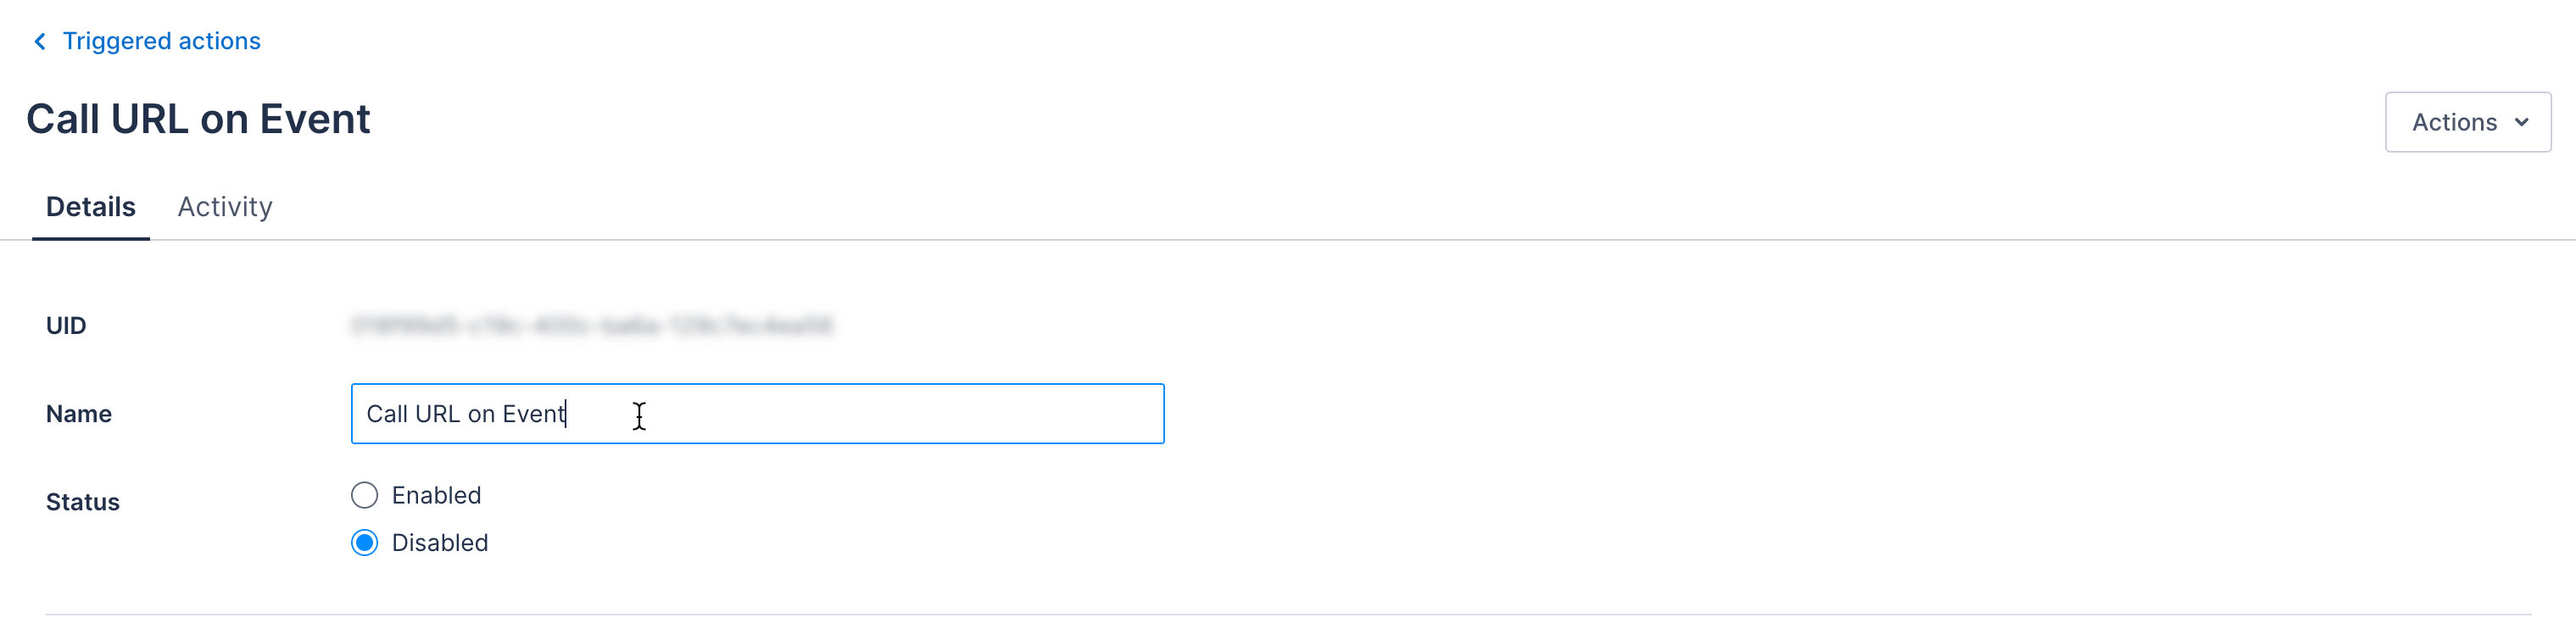
- Under Status, select the state that you would like the triggered action to be in.
- To apply change, click Save. To leave the page without saving any changes, click Cancel.
Delete a triggered action
To delete a specific triggered action:
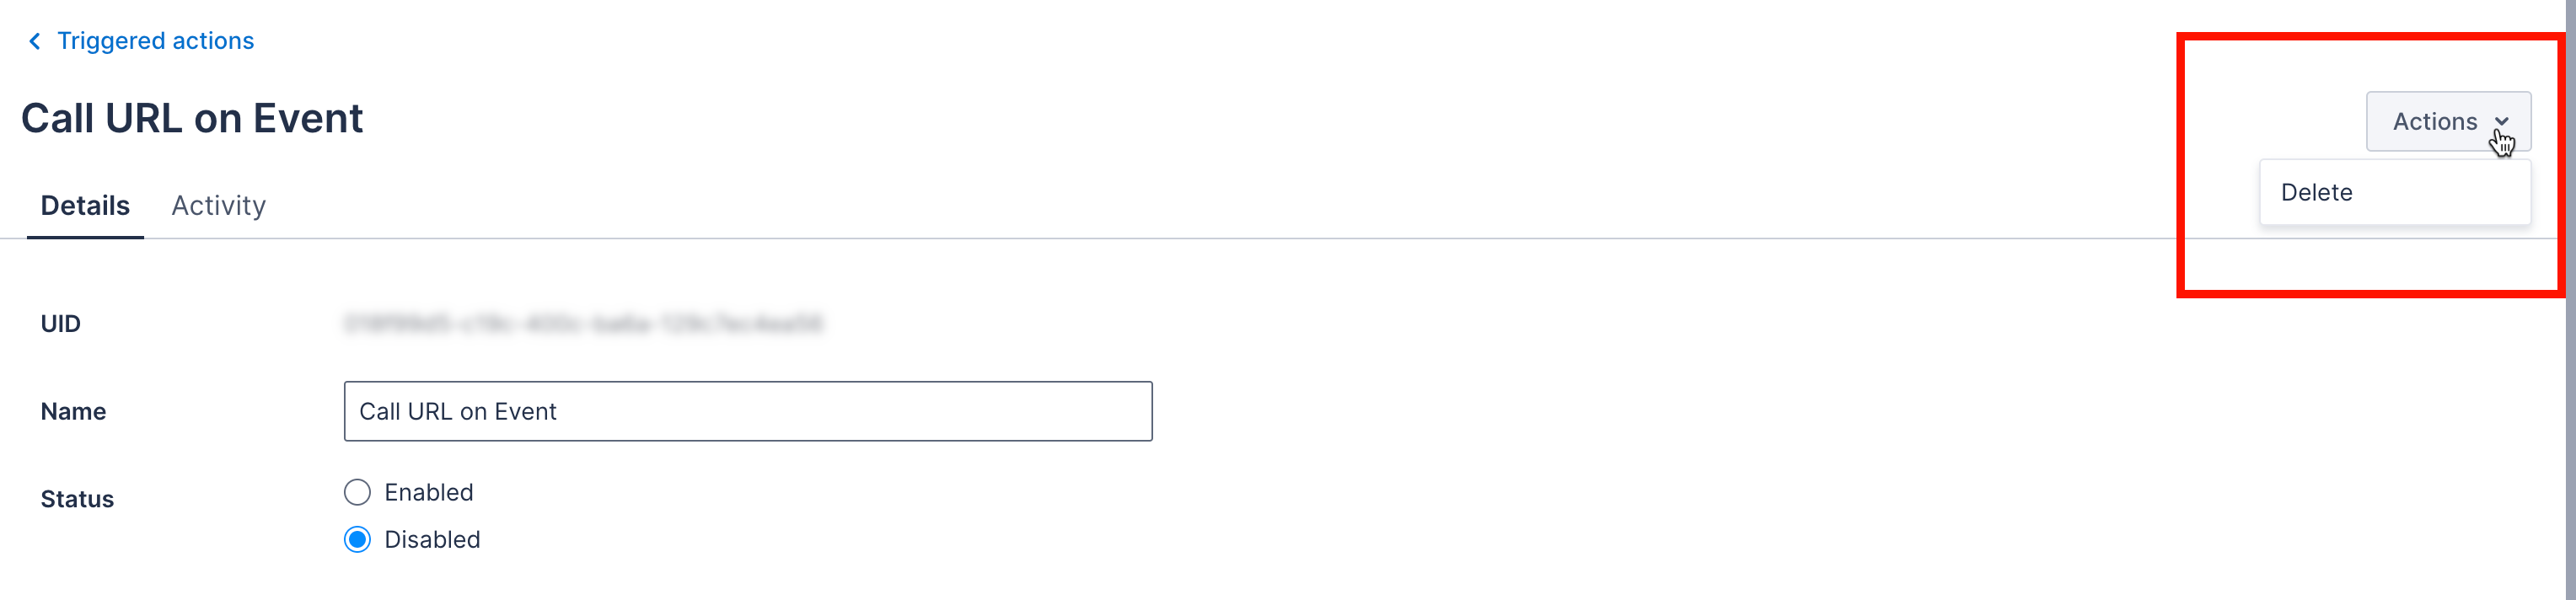
- In the Details tab of a specific triggered actions, click Actions > Delete.
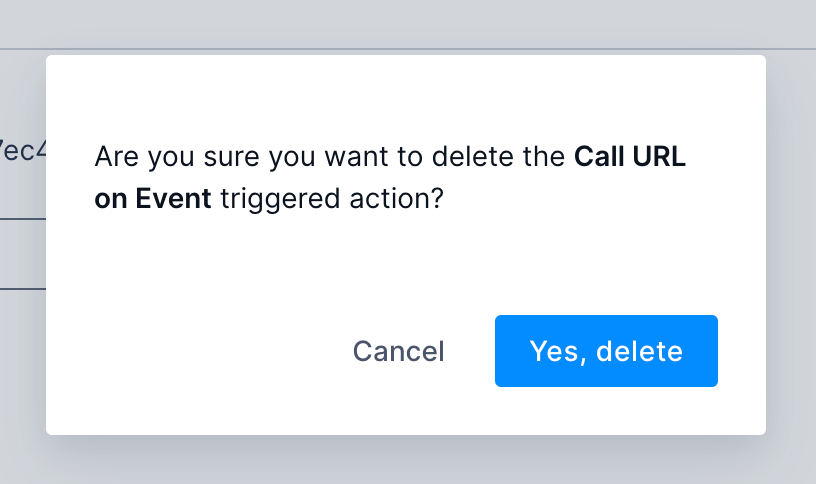
- In the confirmation modal that appears, click Yes, delete.
Feedback
Was this page helpful?