Developing web extensions with the CLI
All sections in this guide require that you have the Skedulo CLI installed.
Develop a web extension
These instructions will describe how to develop an existing web extension using the Skedulo CLI.
Prerequisites
- An understanding of Typescript and React.
- Source code of the web extension on your computer.
- A self-signed SSL certificate to run the development server:
- Run the command
sked web-extension generate-ssl-cert - Follow the prompts. Some certificate files will be created into
~/.localhost-ssl/. - Install the certificates
rootCA.pemandserver.crtinto your operating system and set as trusted. On macOS you can double-click the files to add it to Keychain Access and then set the trust to “Always Trusted”.
- Run the command
Steps
-
Run the development server with this command:
sked web-extension dev location-of-extension-codeWith everything aligned correctly you should be able to confirm that the server is running by executing
curl --verbose https://localhost:1929/and see a response along withSSL certificate verify ok.If there are any issues:
- Check the output of the sked CLI.
- If
sked web-extension devappears to be running successfully, then also confirm that a server is running athttp://localhost:3000/– this is the underlying server provided by the web extension.
-
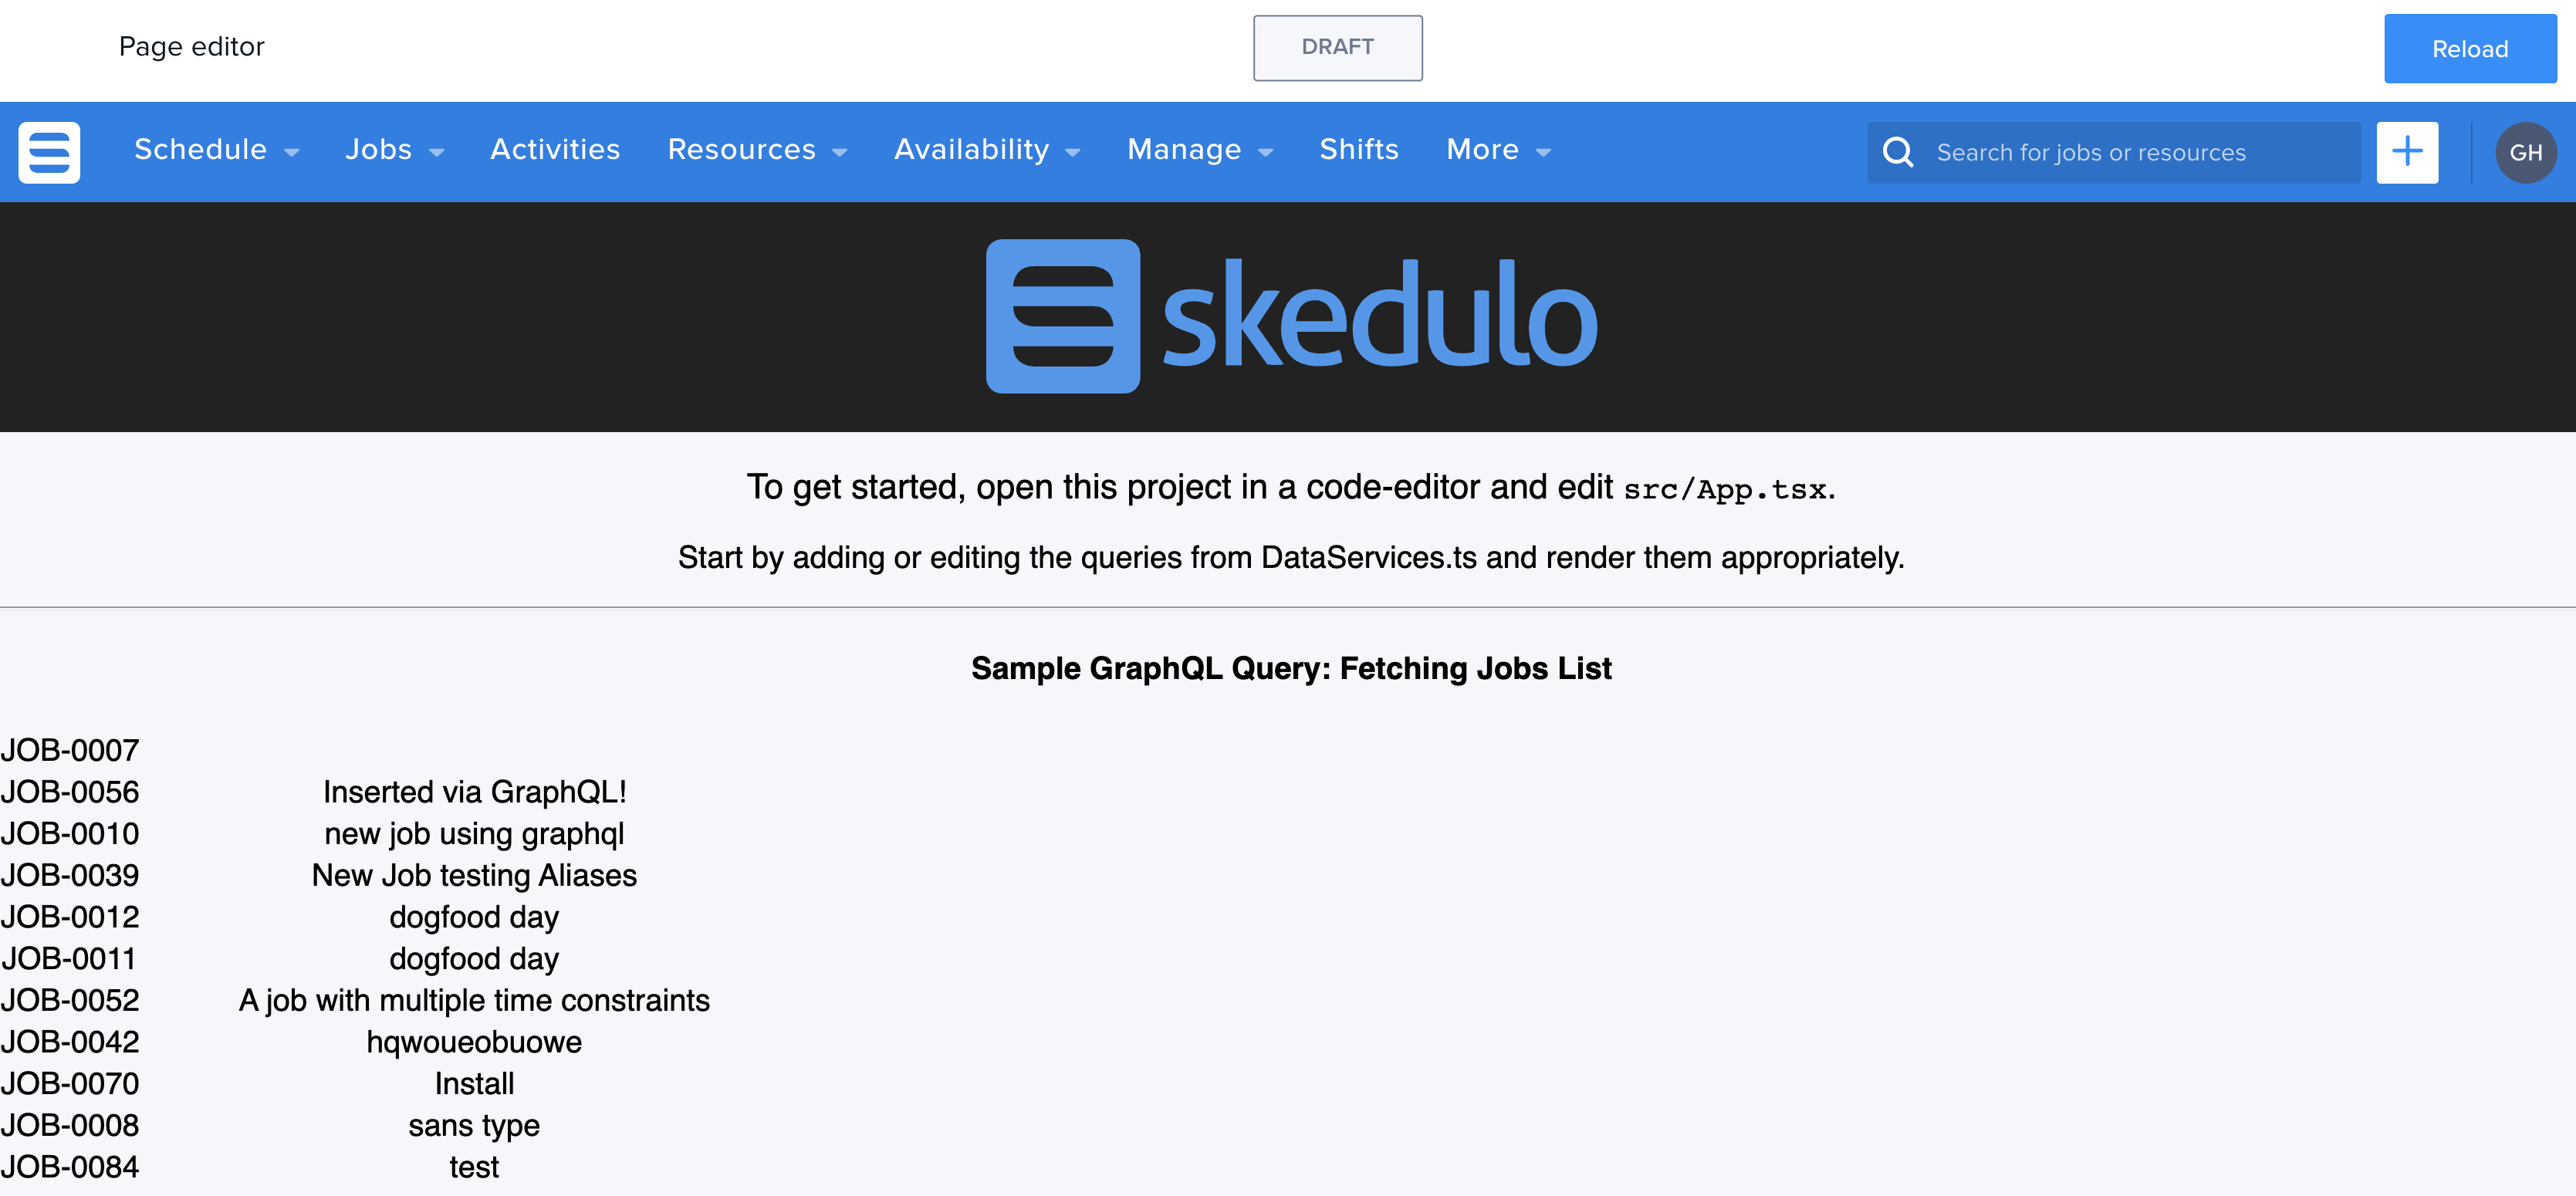
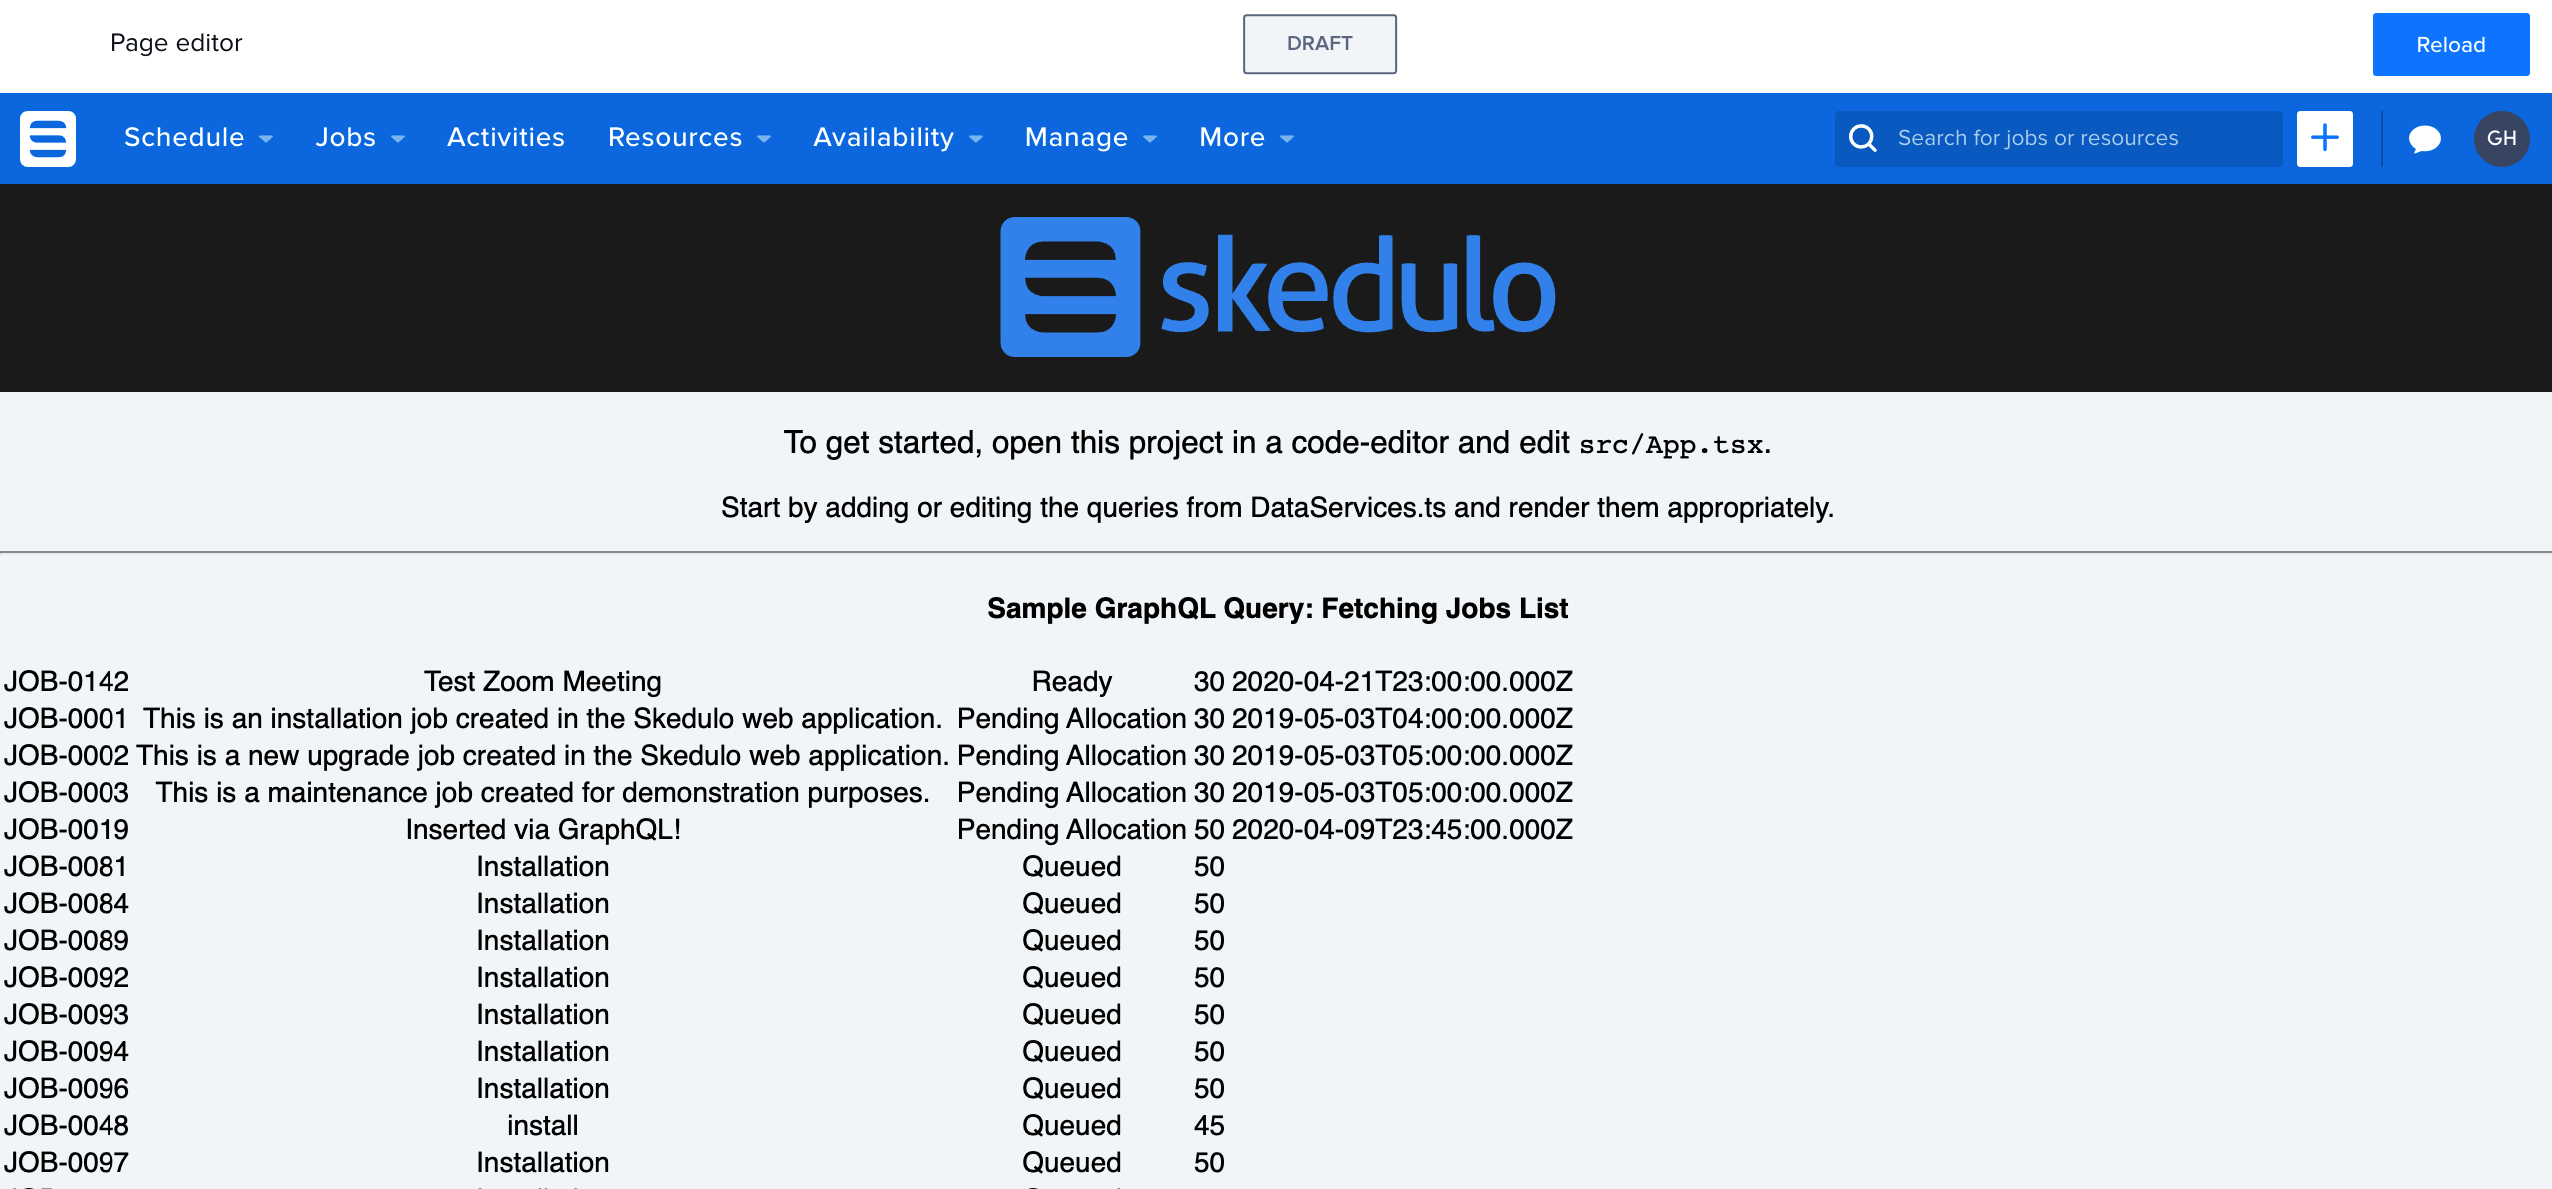
Now to view the web extension, open and login to your Skedulo team in your browser and navigate to
/c-dev. The URL will look something likehttps://teamname.my.skedulo.com/c-dev.Skedulo will connect to the server on port 1929 and load the web extension, so you should see the result. For example:

If there are any issues:
- Check through the browser’s developer console and network for any related errors.
-
Make any required changes to the project code. You should be able to see the CLI automatically recompile the extension.
-
In the Skedulo web app, click the Reload button in the upper-right of the page to quickly reload the contents of the page.

-
Type
Ctrl+Cin the CLI terminal when finished to stop the servers.
Deploy a web extension
Web extensions can be created and updated on a Skedulo tenant like any other Skedulo artifact. Learn about working with artifacts.
Prerequisites
- The CLI must be logged into a tenant.
Steps
-
Confirm if the web extension project has a
state.jsonfile in the root directory. This file is used to define that the web extension is also a Skedulo artifact.-
If the file does not exist, then create
state.jsonwith this content:{ "metadata": { "type": "WebExtension" }, "name": "<Put name from sked.proj.json here>", "source": "." }
-
-
Initiate the extension deployment by running:
sked artifacts web-extension upsert -f location-of-extension-code/state.json -
The extension will need some time to build and install. This can be monitored if your Skedulo tenant has the manager installed and navigating to
/c/g/manage-pkg.
Managing web extensions
Web extensions can be created, updated and deleted via the CLI. Explore the available options by running:
sked artifacts web-extension --help
Feedback
Was this page helpful?