Configure the navigation menu
The navigation menu is the global navigation bar located at the top of every Skedulo page. It is the primary tool used to navigate across the Skedulo web application. Add links to any pages you want easy access to so that you can quickly open them.
In this example, we want to add links to the -create and -list pages, which will make it easier to view any changes made to the page templates.
-
Navigate to Settings > Web app configuration > Navigation menu.
-
Click Add menu item to display the Add menu item modal.
-
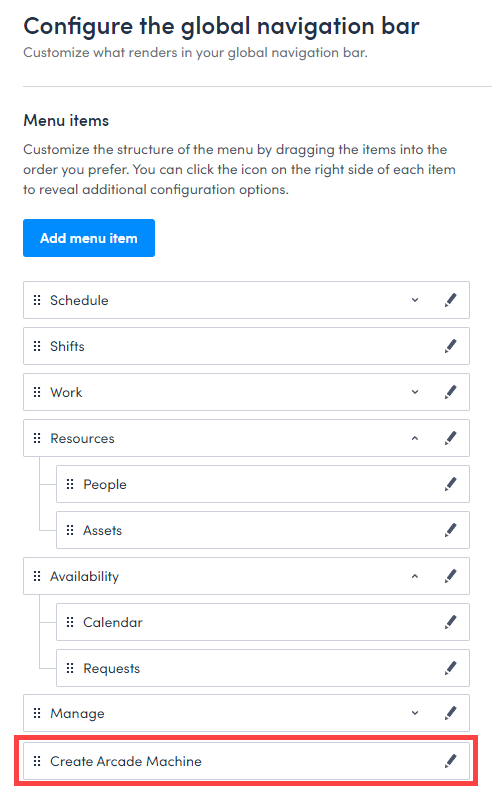
We will add a link to the Create record page first, so, in the Menu item name field, enter the name you want to give the menu item. For example, Create arcade machine. This is what will appear on the navigation menu.
-
Select Platform page (beta).
-
From the Destination platform page drop-down list, select the name of your Create record page. This will be your object Name suffixed with
-createsuffix .For example,arcade-games-create. -
From the Roles with access drop-down list, select the role you want to give the access. In this scenario, we can choose Administrator role as an example.
-
Click Done. The new menu item is added to the bottom of the menu items list on the Navigation menu page.
-
Click Add menu item again to add a second menu item, this time pointed to the
arcade-games-listpage and called Arcade Machine List. From the Roles with access drop-down list, select the Administrator role.Now that you have two new menu items, it can be useful to group them under a parent item so that the navigation bar doesn’t become too cluttered.
-
Click Add menu item a third time.
-
On the Add menu item modal:
- Enter a name, for example, Arcade Games.
- Under Type, select No link.
- From the Roles with access drop-down list, select the Administrator role.
-
Click Done to save your changes and close the modal.
-
On the Navigation menu page, use the gripper icons to drag the List and Create menu items beneath the parent item.
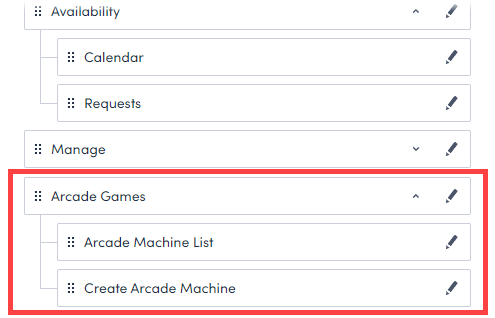
- Click Save to apply your changes. Your new menu items are now available on the navigation menu.

Feedback
Was this page helpful?